Tiny Needle Tuesday

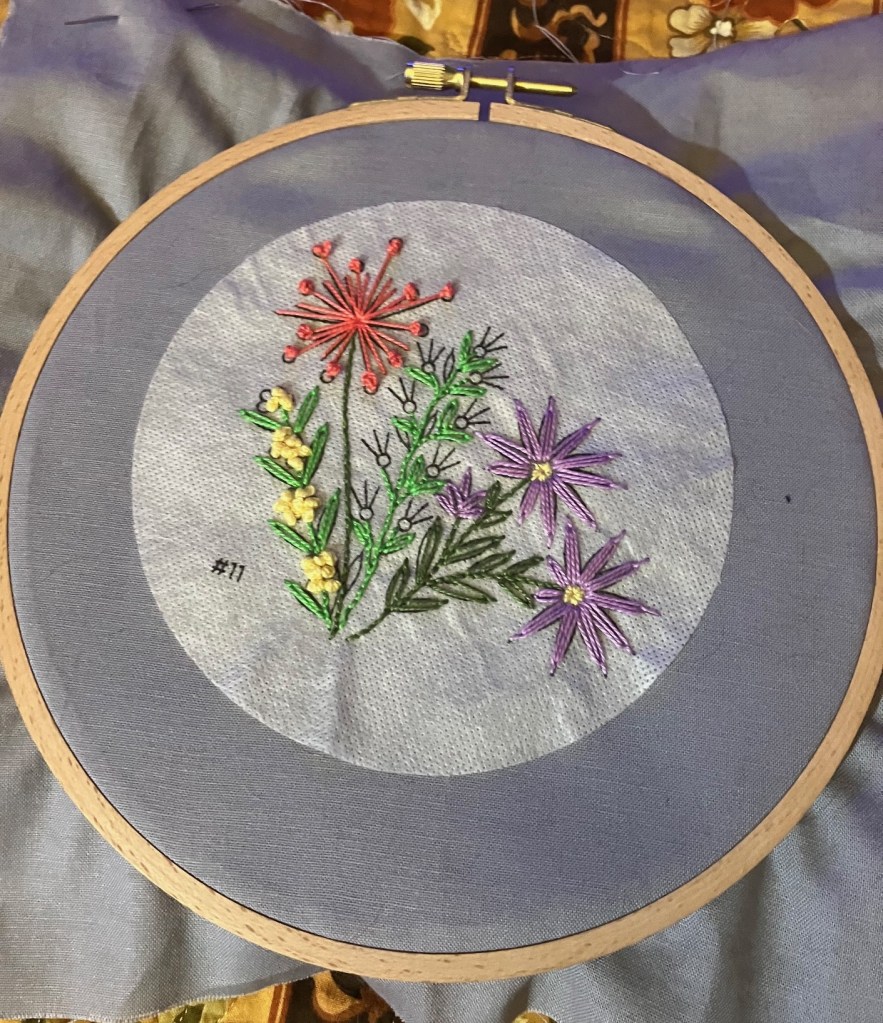
Since I was working on the Groom’s sock on Saturday, I only had a few hours on Sunday to work on block 11

I almost got it finished…. there’s just a few French knots and some small stitches attached to them. This one will definitely be completed this coming weekend. And maybe even Block 12 too!

FO: Groom’s socks

Welll… I guess I should have as much faith in myself as you guys do.

Several of you said I could complete the Groom’s socks by the end of the week and you were right…

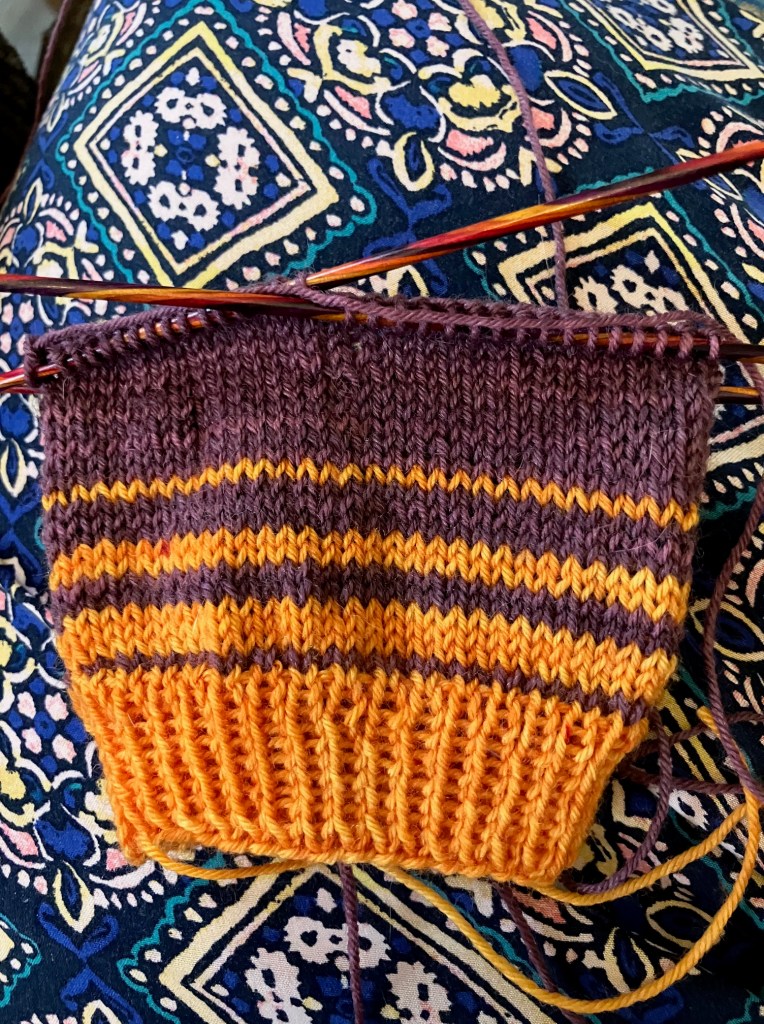
I got the heel and the bulk of the foot done Wednesday and Thursday night, and Saturday morning I finished up the stripes and the toes!

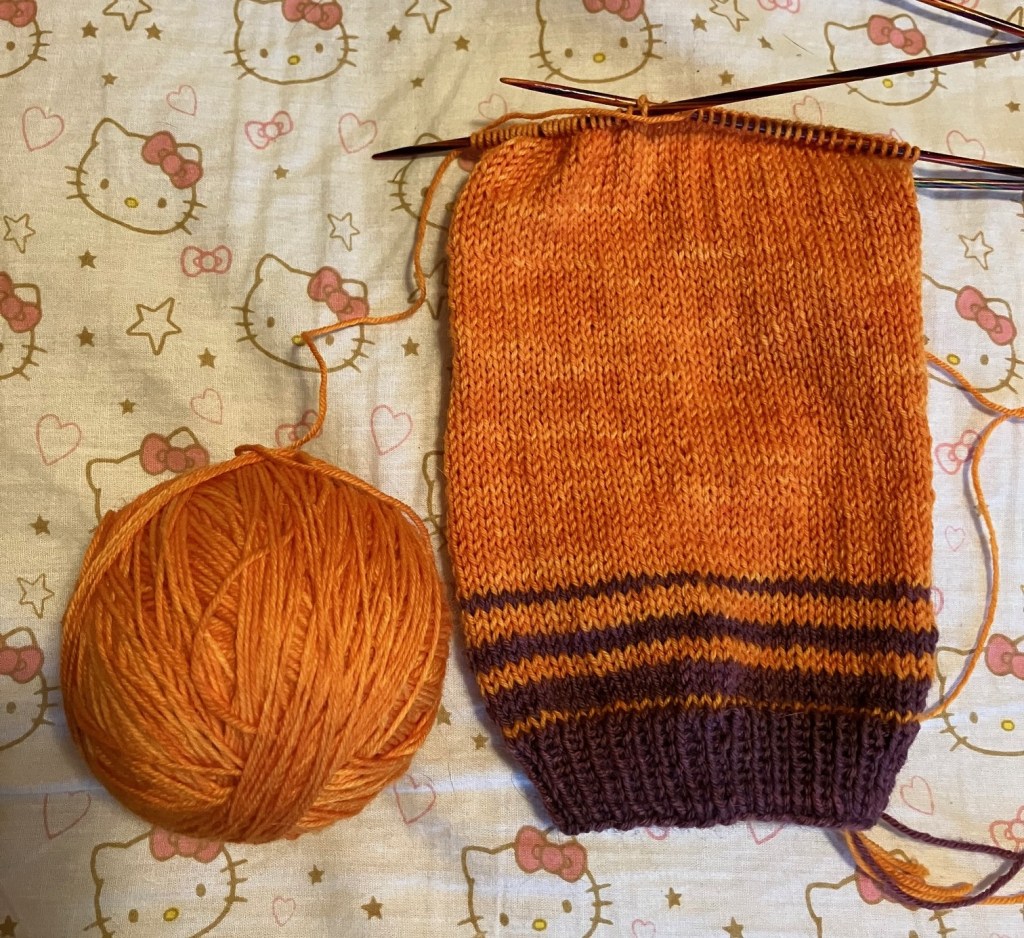
For a quick recap. Yarn: Alley Cat in Carrot, and Alley Cat BFL in Raisin. Worked over 72 stitches with basic sock math for heel and toe. I added the graduated stripes at top and bottom just to give the socks a little more pizzazz.

I’m very pleased to have them done, and even more pleased that I got a good start on the bride’s.

As you can see, I’m reversing the colours for some matchy-non-matchy fun! Twenty-four days left to get this pair done!

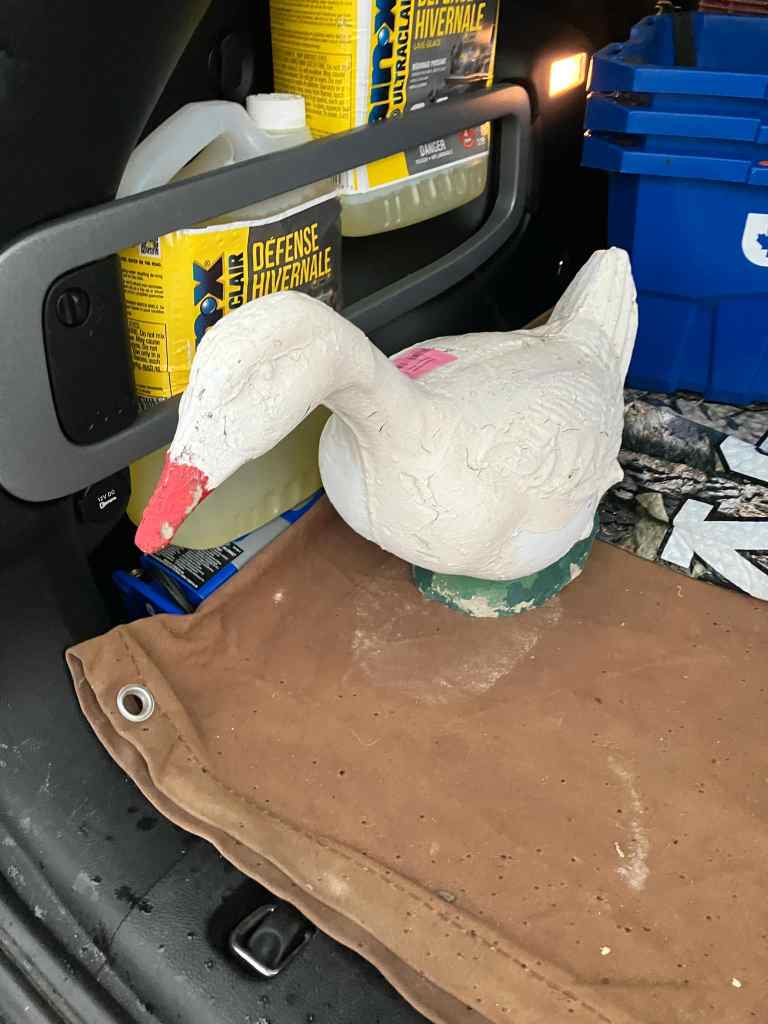
Meet Gertrude

Have you guys heard of the Porch Goose? If not, click this link.

Every since we bought the house, I’ve wanted a porch goose. But did you know porch geese are hella expensive??? At least around here – good luck finding a concrete one for under $150. Even the plastic ones on Amazon are $100.

Now I can justify a lot of things… but spending $100 or more dollars on something I’m going to dress up and put on my porch…? Just couldn’t do it.

So imagine my delight, when after almost four years… Dave and I were out thrifting at the ReStore and we came across not one… but FOUR porch geese. Solid concrete and $15 each!!! I literally squealed in delight. Dave was very confused. Apparently, I’d kept my porch geese desires to myself all these years and he had no idea what I was talking about. When I explained it to him, he thought I was joking until the cashier confirmed it was an actual thing people did.

But that’s enough explanation… you want to see her, right?

Isn’t she magnificent??? Well…. she will be. As you can see, she’s in need of a bit of a make-over. But she is solid concrete! And she is HEAVY! Dave was buying a set of speakers and had his hands full, so I had to carry her through the store and to the jeep.

Once the weather warms up enough to paint outside, she’ll be getting a glow up. In the mean time, I’ll be taking her measurements so I can make her first summer outfit!

That Mother

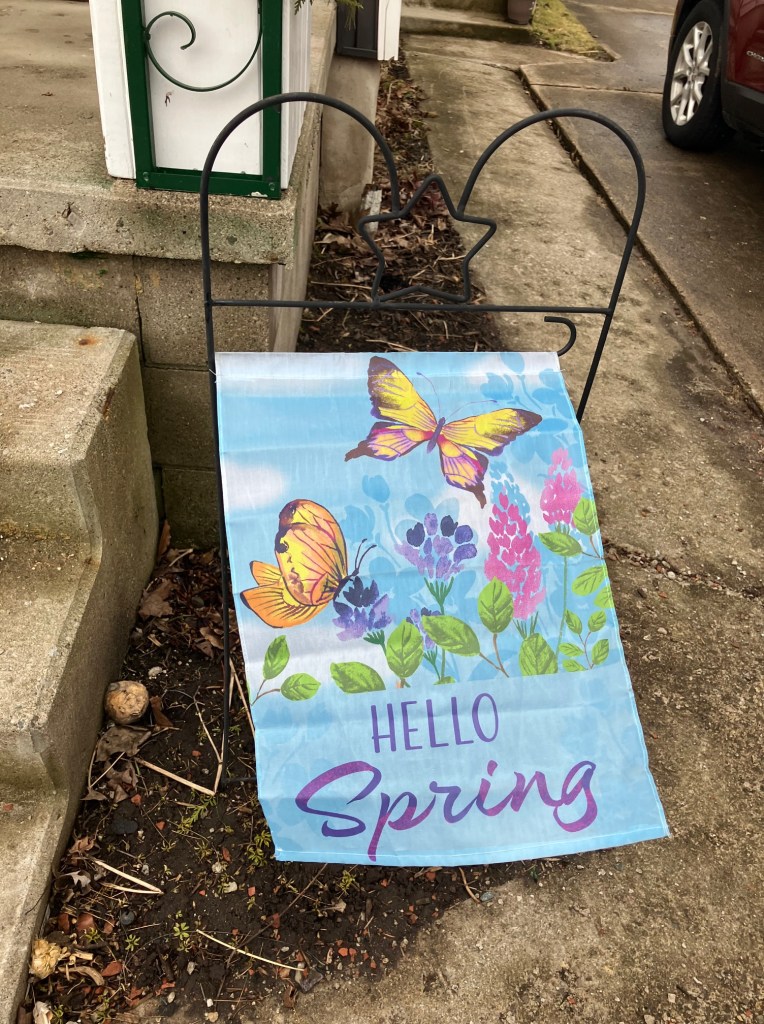
Despite what the calendar and my little garden flag say…. Mother Nature flipped the switch on us and we’ve been lucky to get a few degrees above freezing this past week.

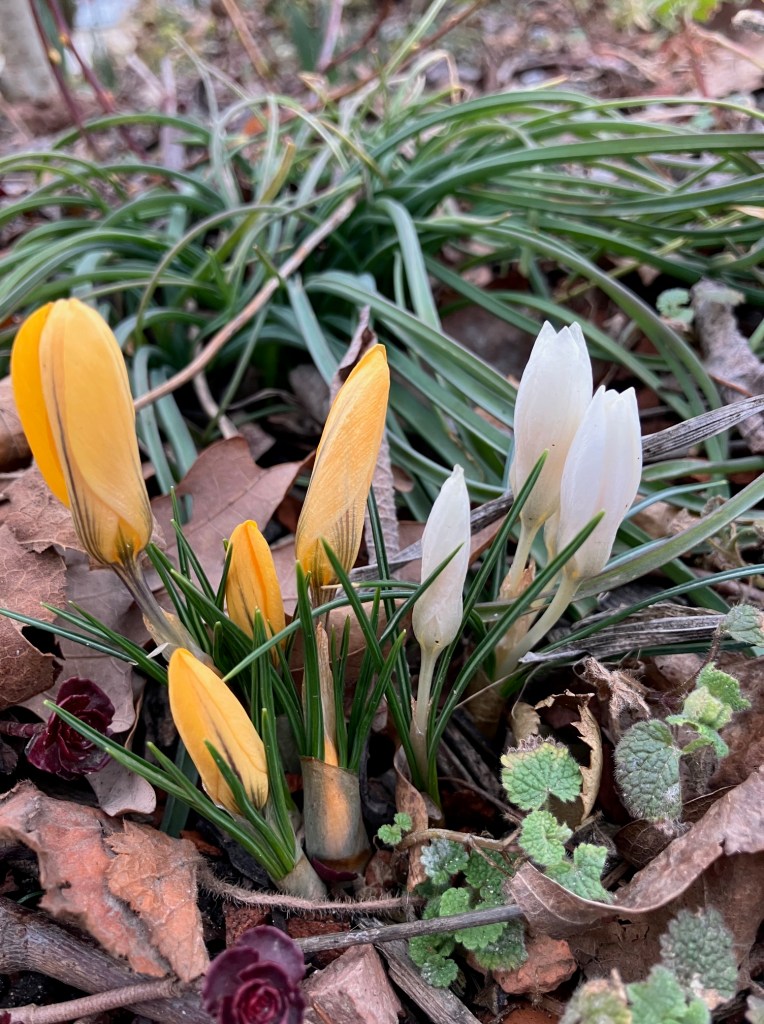
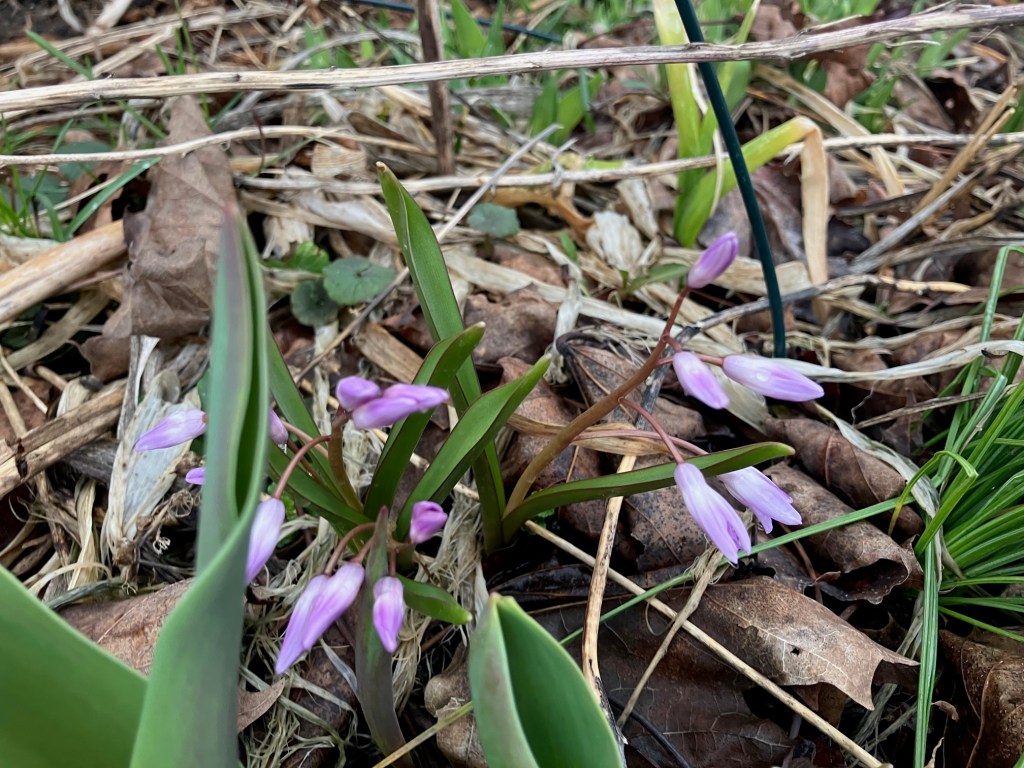
All the crocuses are staying tight closed up! The only thing new that’s bloomed is a small clump of Glory of the snow.

And like the crocuses, it’s been staying tightly closed. I have several little clumps of it, in several different colours. Like the crocuses, it seems to be starting to multiply.

Speaking of multiplying, I’ve got several clumps of daffodils that I should probably break up this year after they are done flowering. So many of them have really expanded – I love it!

And last…

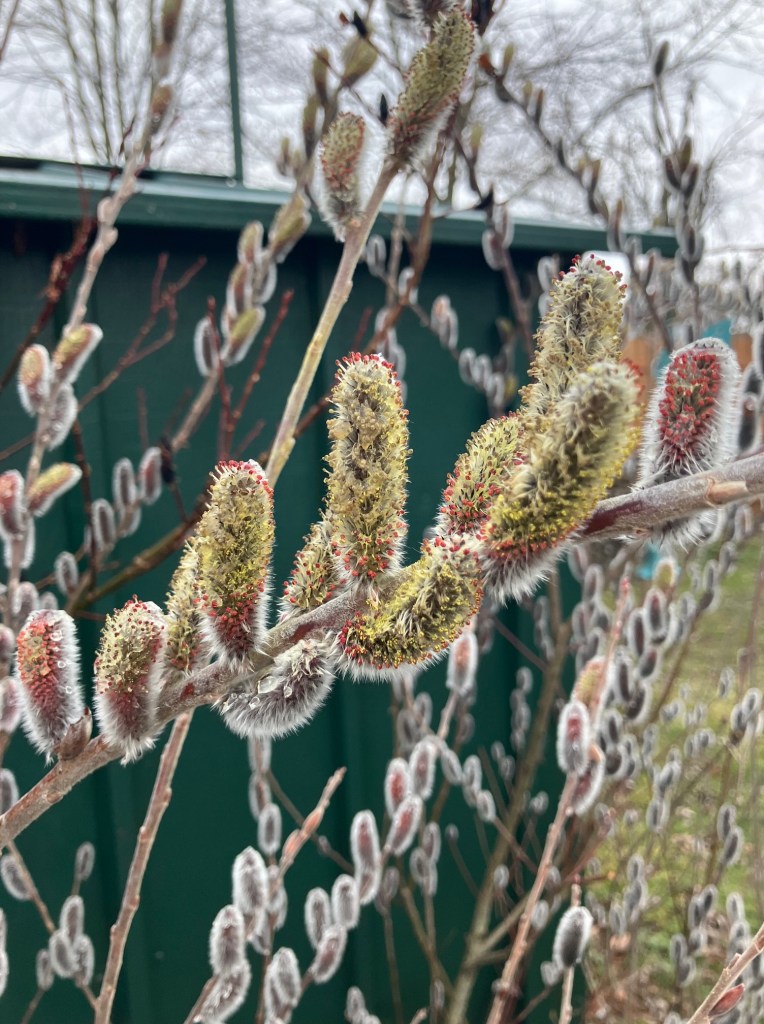
The pink pussywillow is starting to get its little pollen blobs… it would be covered in bees… if it was warm enough for bees to fly…

Sigh… maybe next week will be warmer.

FO: Bees amongst the flowers

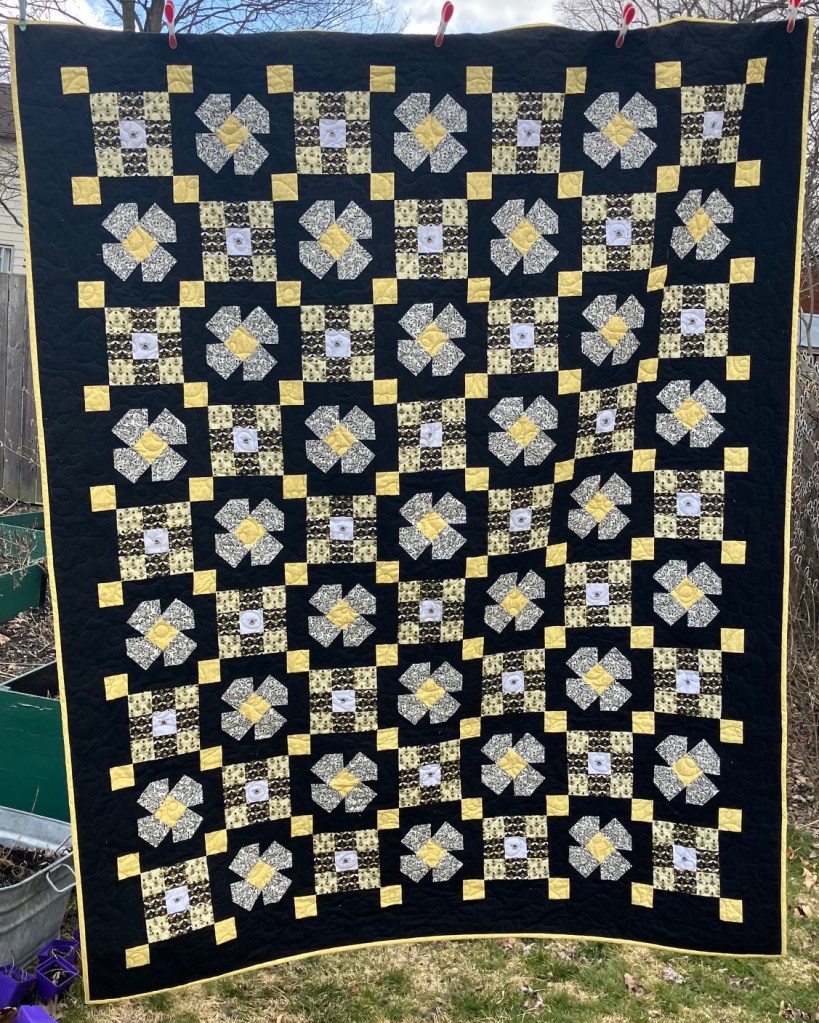
For the second finished quilt, I had lots of help with the binding.

First Lemmy.

Then Rupert.

Then the pair together!

And finally – Relic and Rupert.

Even with all that help, it took me a couple nights to bind. It’s a pretty big one.

It finished up at about 66″ x 82″

You may recall that this quilt came about because I was using up some leftovers.

After finishing up my latest Blockhead quilt, I had some scrap left that I turned into those fussy-cut centre bees. They became nine-patches with some other bee-themed yardage I had (also used in the Blockhead quilt)

Then I dug into the stash to make some coordinating dizzy daisies.

I used that honey comb yardage for some cornerstone too and pulled it all together into a simple, but beautiful quilt top.

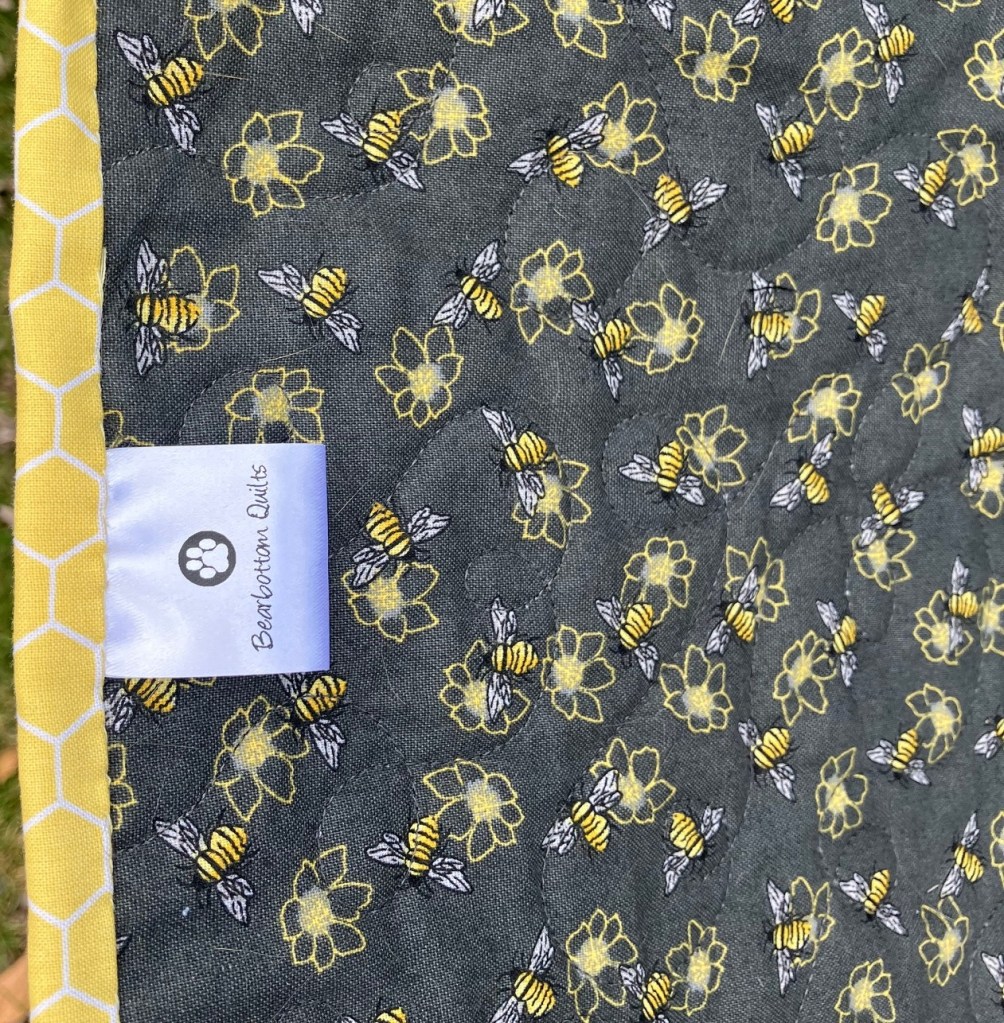
For the back, I got some great charcoal grey bee-themed yardage on sale.

It really was too perfect!

So that’s the last finished quilt for me for a bit… I’ve got two tops on the go but I think I might just start something new… stay tuned!

Groom sock progress

I was probably overly optimistic thinking I could get the Groom’s second sock completely finished by last weekend.

I’m not even remotely close. I am, however, just about to start on the heel. Can I finish them by this weekend…?

Probably not. But maybe the weekend after that. Either way, I’m still on track to meet my overall deadline!

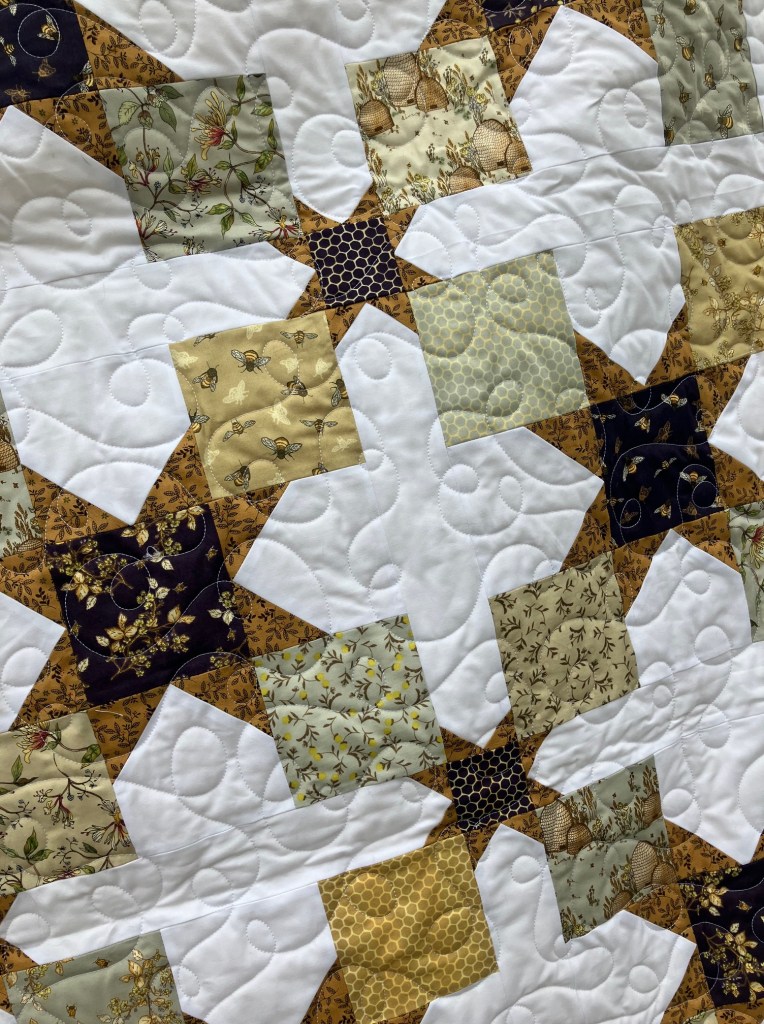
FO: Bee-utiful Journey

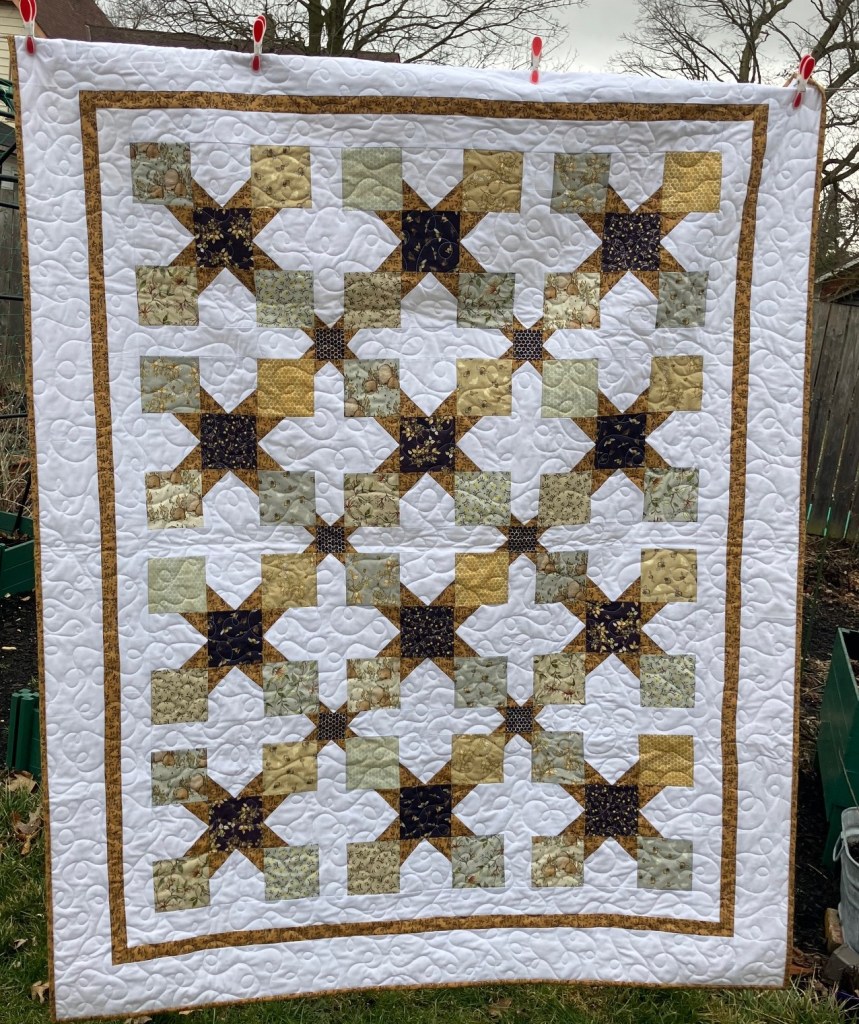
It was a very productive weekend at Mom’s and I have two finished quilts to share this week. The first is the retirement quilt for our lovely post office lady.

Every time I look at this one, I love it a little more. I love the layout. I love the colours. And I love those prints.

It was a really beautiful line. (Tell the Bees by Windham Fabrics). I wish I’d bought more than just two charm packs. I still have a few squares left, so I’ll have to figure out something special for them.

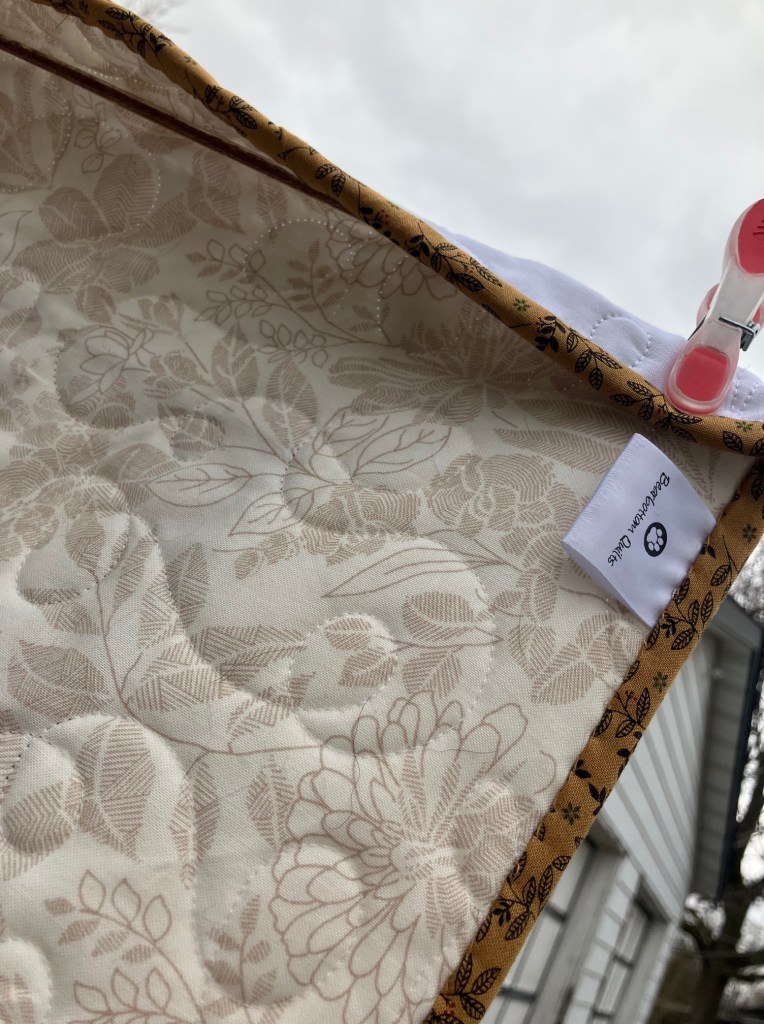
For the back I used this lovely cream floral, with more of the rusty orange used throughout the quilt for the binding.

All in all I think it’s all wraps up into a lovely quilt I can’t wait to gift. But I have to wait until the end of next month!

Chicka-dee-light

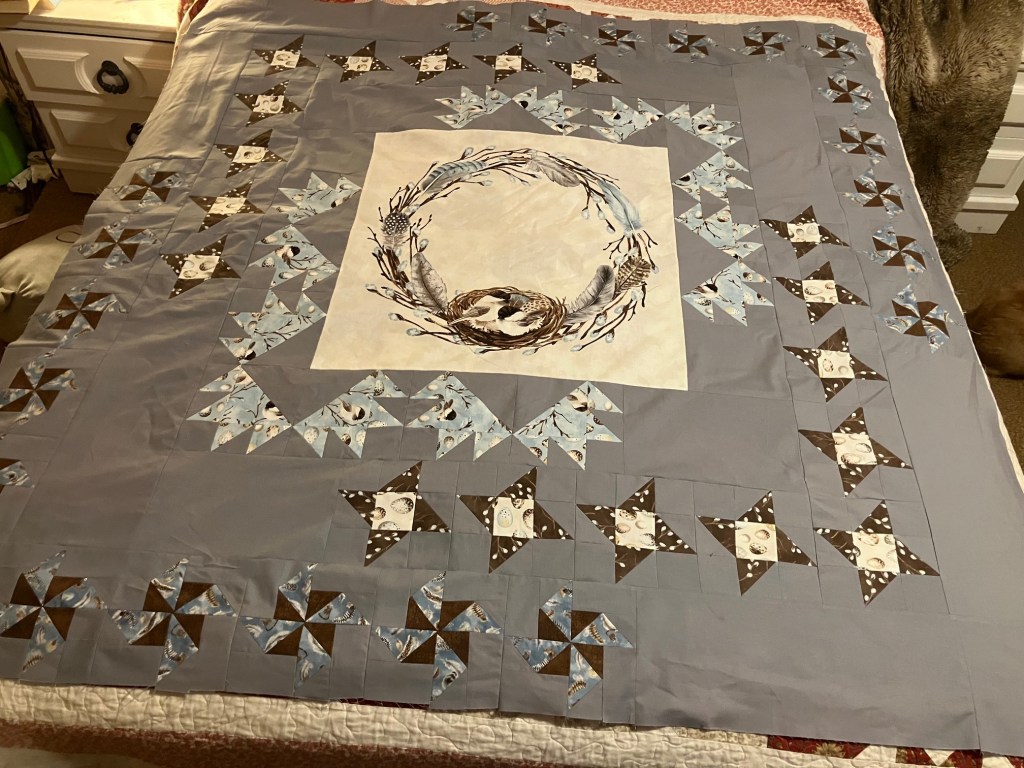
I really wanted to get the Stay at Home Round Robin top done before I headed off to Mom’s. I want her to do some fancy quilting on it, so I wanted to bring it and leave it with her.

So… although I don’t love sewing after dinner – I took an evening last week and did just that.

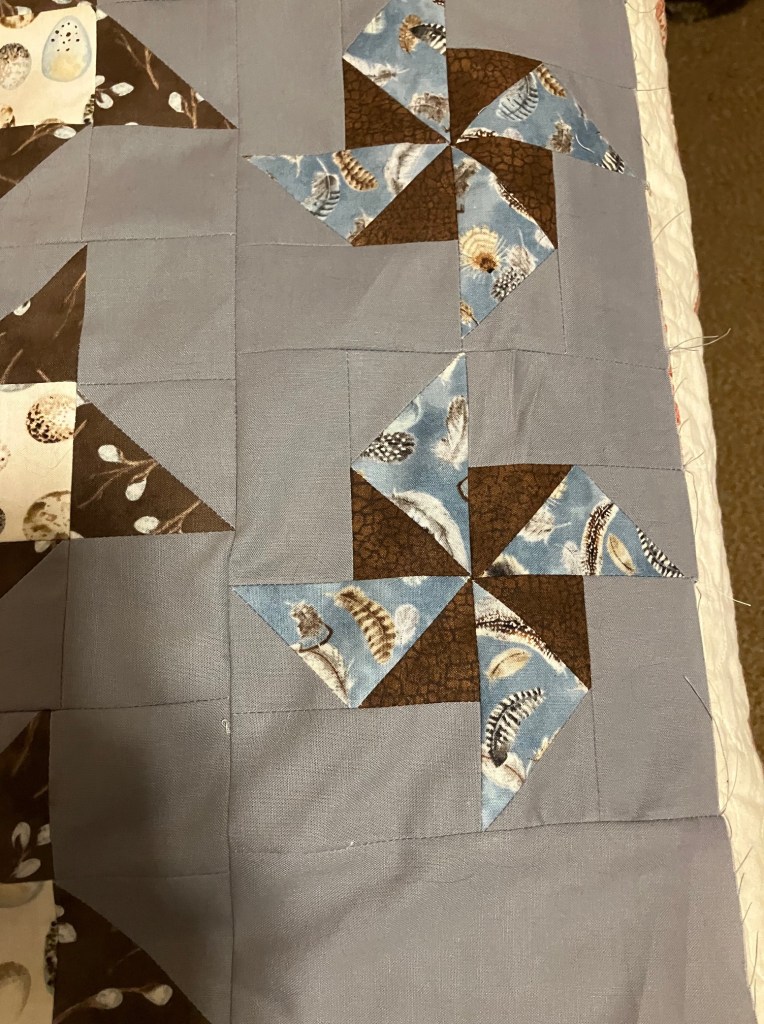
It only took a couple hours to get all the pinwheels sewn together and the borders on. Though I did mis-measure the grey fabric a couple times – which was quite frustrating!

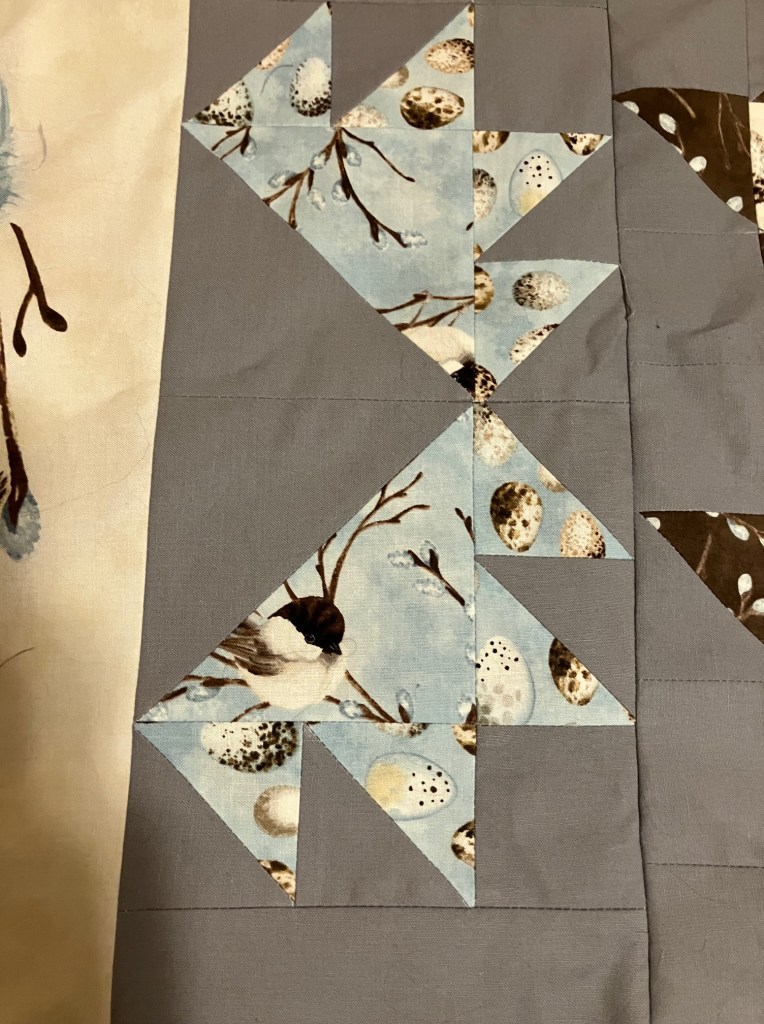
Still the borders are on and I’m quite pleased. I love this way of framing a panel. It’s a technique I’ve used before and will definitely use again! Here’s a closer look at the blocks in each border.

In the end, the top finished up at about 58″ x 60″ so a nice little lap quilt.

I’ll share pics of Mom’s magic quilting when she had a chance to get to it. As you know, she’s got a pile of her own creations to quilt!

Tiny joy

One thing about the earliest Spring flowers you may not realize is… they are TINY.

Snow Crocuses are supposed to be the earliest blooming of all the crocuses. I only have one type… the Monarch Snow Crocus

I bought them before I knew much about crocuses. I still don’t know a lot … but I’ve learned that these guys, at least to me, aren’t really worth the money. Why…?

That’s them beside my thumb nail. Yeah – they are that small. Even planted on mass, I don’t think they have much punch. These ones live in the catio, and I’m happy enough to let them stay, but I’ll stick to their bigger Giant Crocus cousins in future.

Like these much bigger yellow ones.

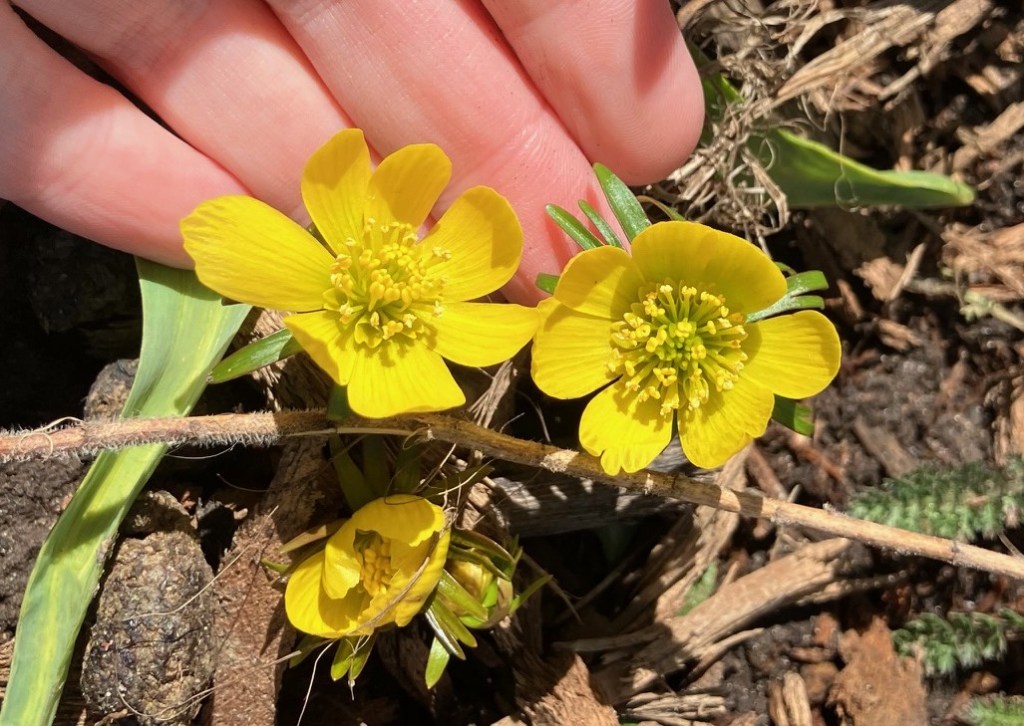
The Winter Aconite have very small flowers too.

It’s a little smaller than the Giant Crocus, but bigger than the Snow Crocuses. I do wish it liked my garden a little better than it seems to. It’s a softer yellow than the Crocuses and the bees do love it’s open flowers.

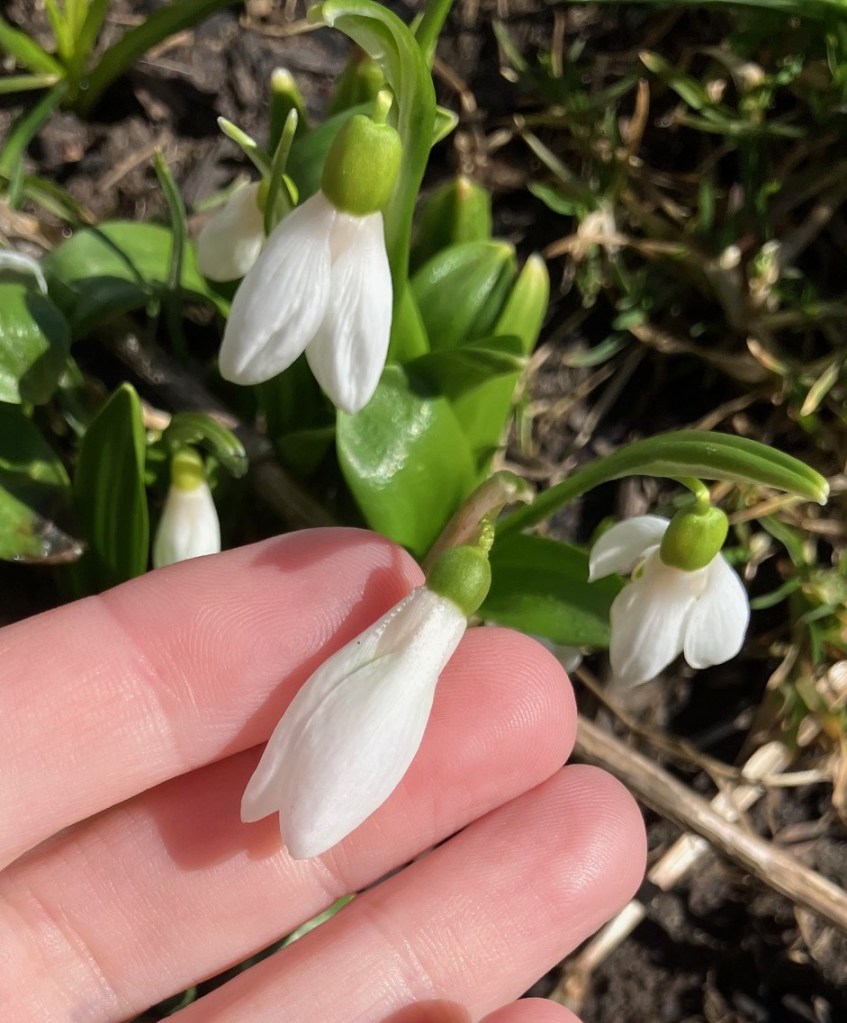
Snow drops are pretty tiny too.

These are the ones in the catio. In addition to having a small flower, they are also quite short. The ones in the woodland garden are taller. They were planted a couple years apart, and I’m thinking now I have two different types. To be honest, the shorter ones in the catio are probably a better option for there – it’s easier to avoid Lemmy the Destructor when you’re lower to the ground!

Maybe that’s the strategy of the early spring bloom – staying small and closer to the earth helps them survive the ups and downs Mother Nature throws out this time of year.