
As soon as I got the Kitty Corn fabric last year, I knew just what I wanted to make with it. There was something about the colours, and fun retro prints that I thought would jive so well with the Chandelier quilt.
When I last made a Chandelier quilt a couple people commented that they couldn’t work out how it all went together.
It’s exceedingly easy, but looks complicated, which is my favourite type of project.
Each block is put together from seven pieces.
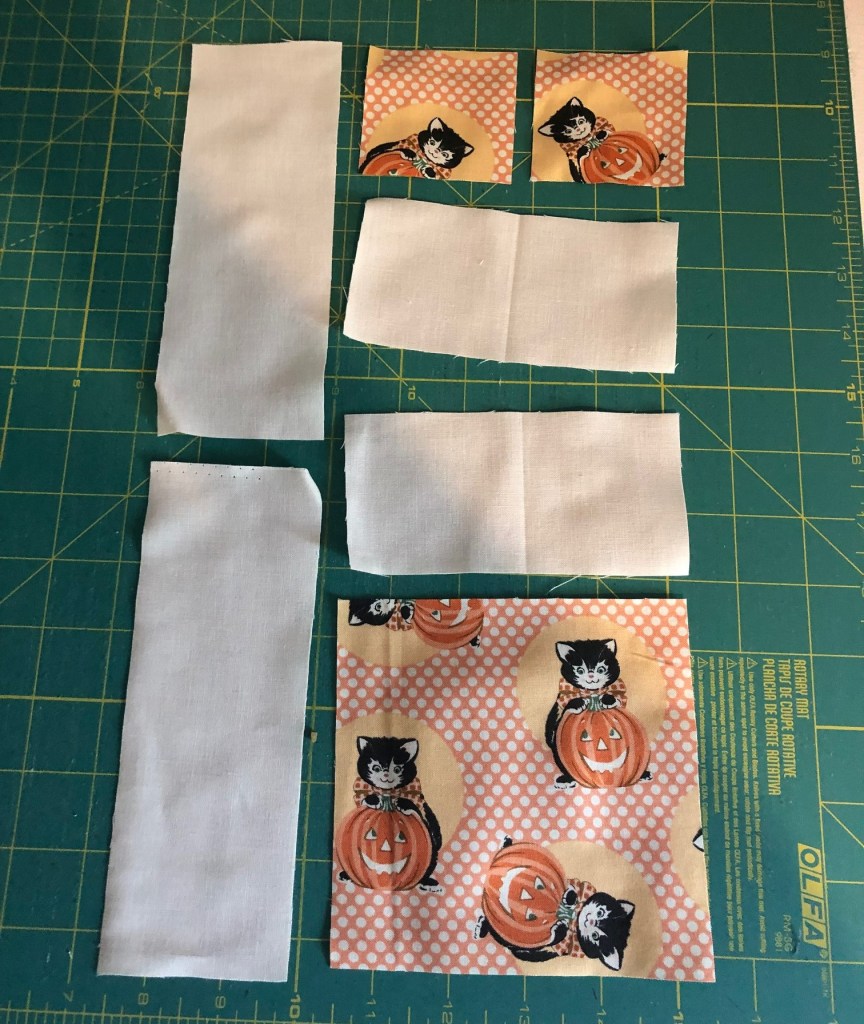
Just sew the small blocks to the long rectangles and then sew short rectangles to either side of the big block.

Sew those long pieces to either side and boom!
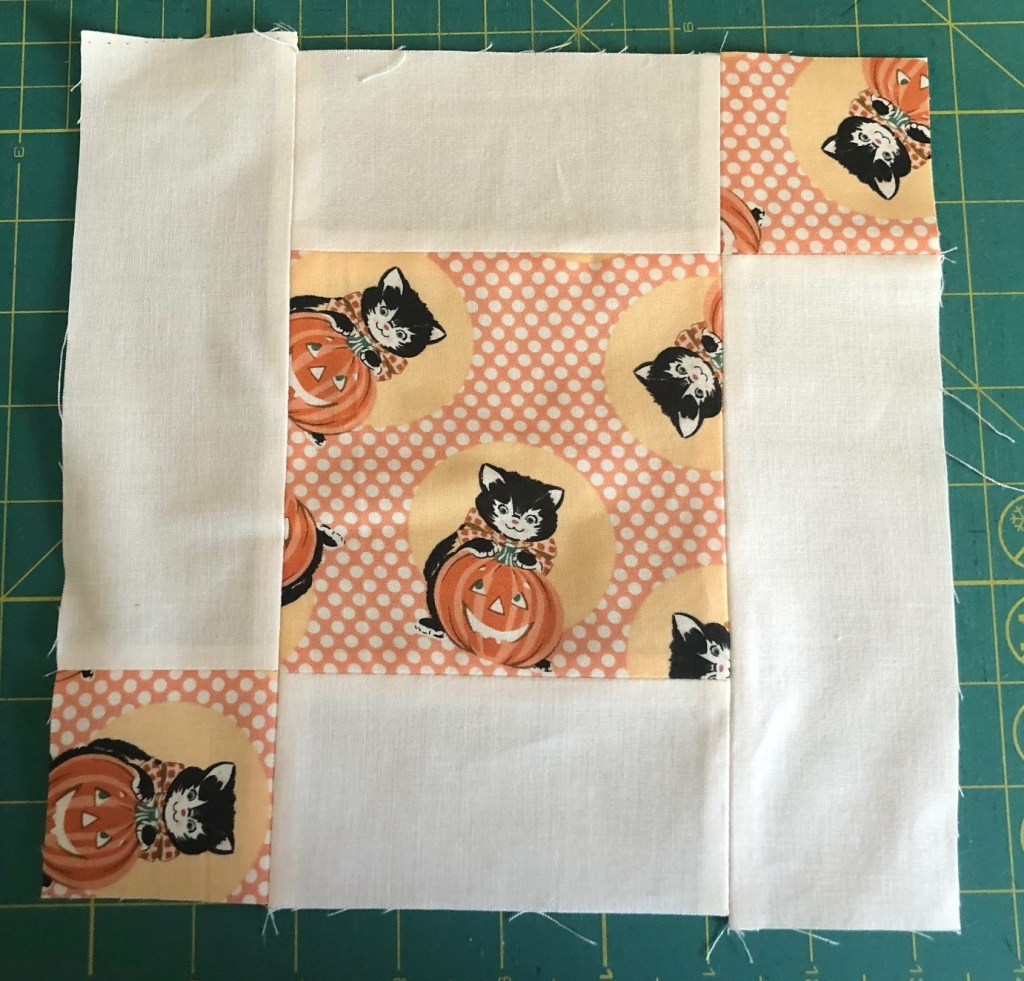
You have your block!
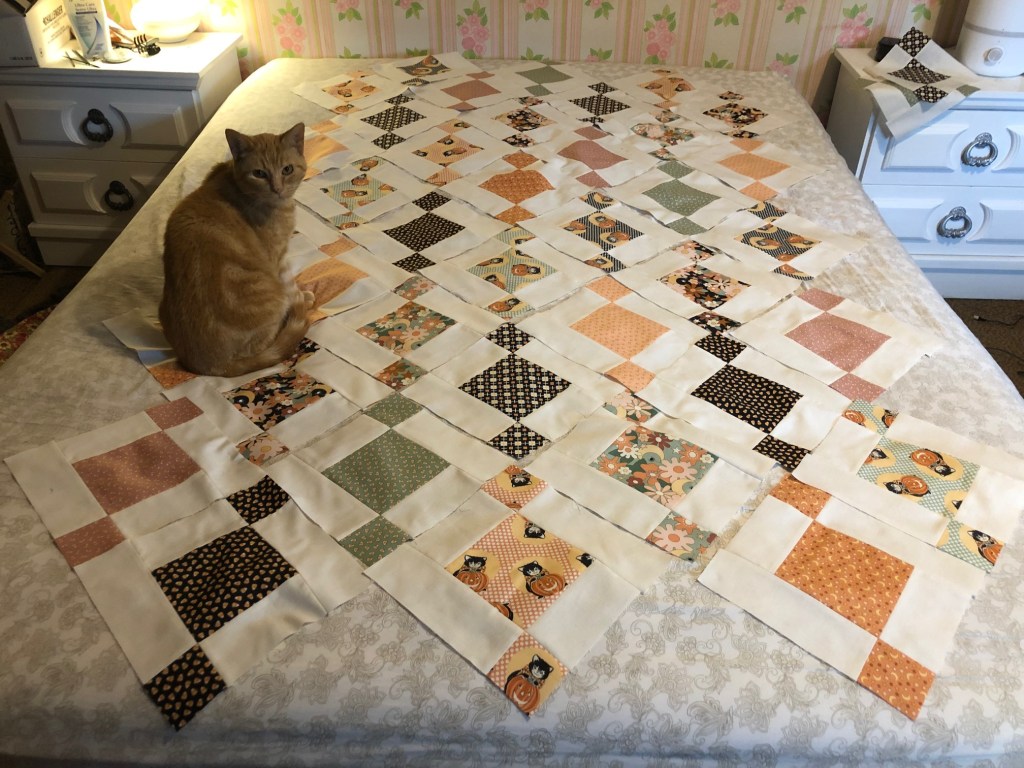
Then it’s just a matter of laying them on point and adding some setting triangles to the side.
Easy Peasy Rupert Squeezy! (Note: Rupert does not actually like to be squeezed, but he will accept gentle stroking)
An hour or two of sewing later…
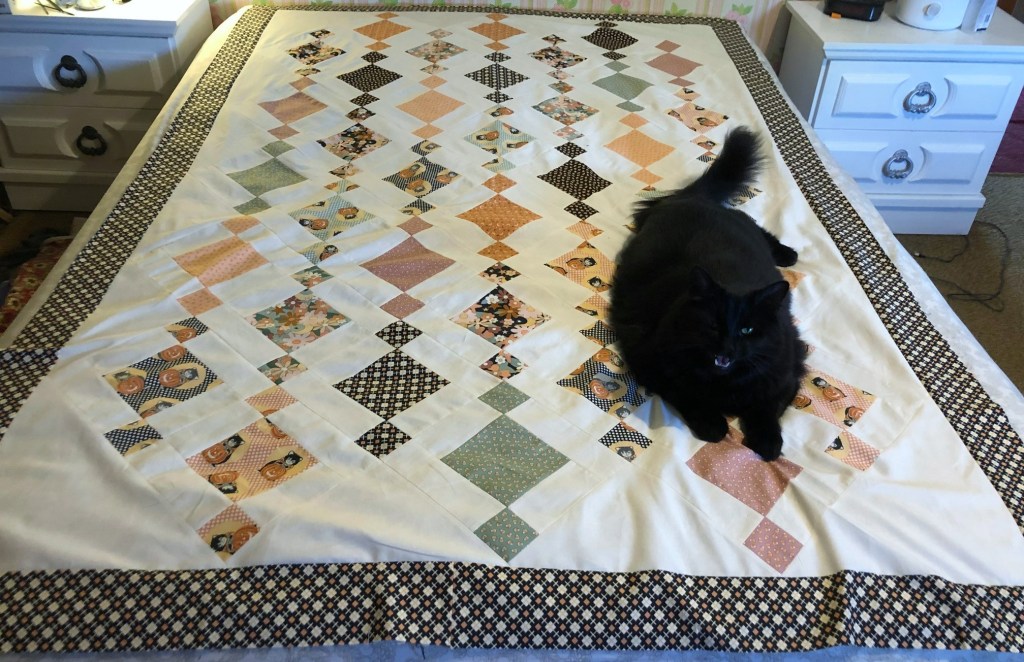
And you’ve got any excessively stylish quilt top! I’m headed to Mom’s this weekend, and I’ve got the perfect backing and binding to wrap this one up with.
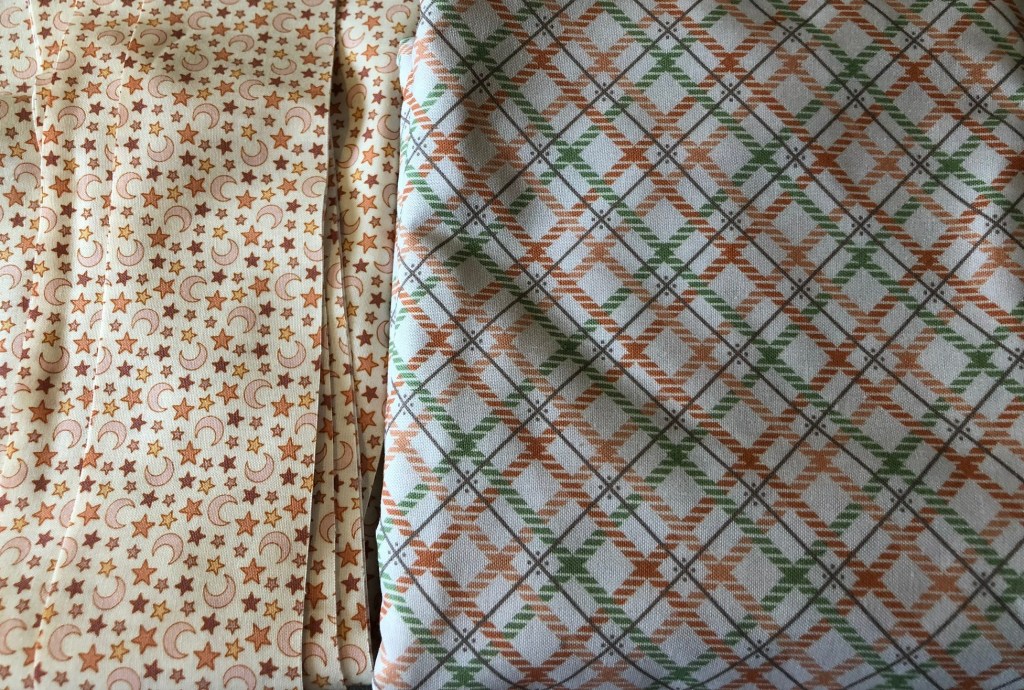

Gorgeous! Love that fabric at the bottom with the stars and crescent moons.
LikeLike
I love how it looks like the dangly bits on a chandelier. That is so cool how that works out.
LikeLike
Thanks. It’s such a fun pattern! ________________________________
LikeLike
What a beautiful quilt top! You certainly do have the perfect fabrics for backing and binding. Also, the fabric you used for the border is perfect. I have had that idea in my “to try someday” folder and really need to do so.
LikeLike
This quilt is really nice!!!! You will get a lot done at your Mom’s this weekend! (She will love it–as a Mother who just had a daughter visit, I know!)
LikeLike
Adorable, and it does seem easy when you’ve shown us how.
Lord Burton appears to approve, so who are we to have any other opinion.
LikeLike
That is a great pattern, so cute!
LikeLike