
My comic book boards arrived, so I carved out an afternoon to pull all the yardage out of the drawers, and start wrapping.
For those that aren’t familiar, comic book boards are small, light pieces of cardboard, the stores and collectors place in behind their books to help keep them stiff for display and storage.
But quilters and crafters have caught on, and use them for storing fabric!

I ordered a stack of 200 and they came with a pile of little plastic clips to help keep the fabric secure. It’s a pretty simple process.
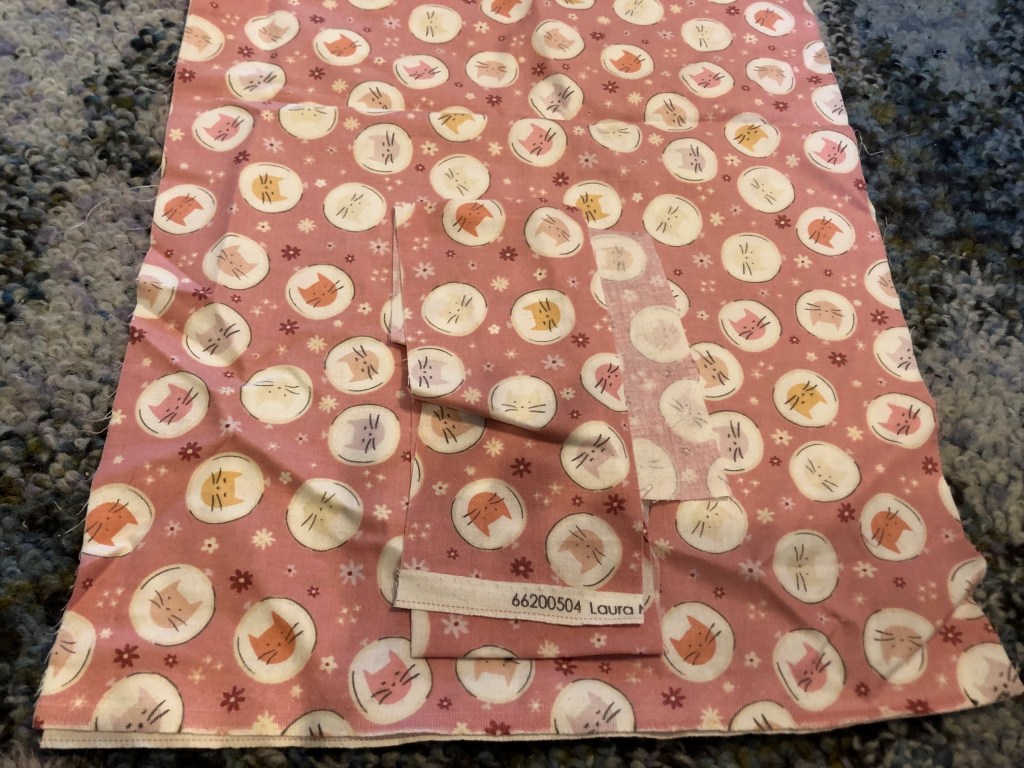
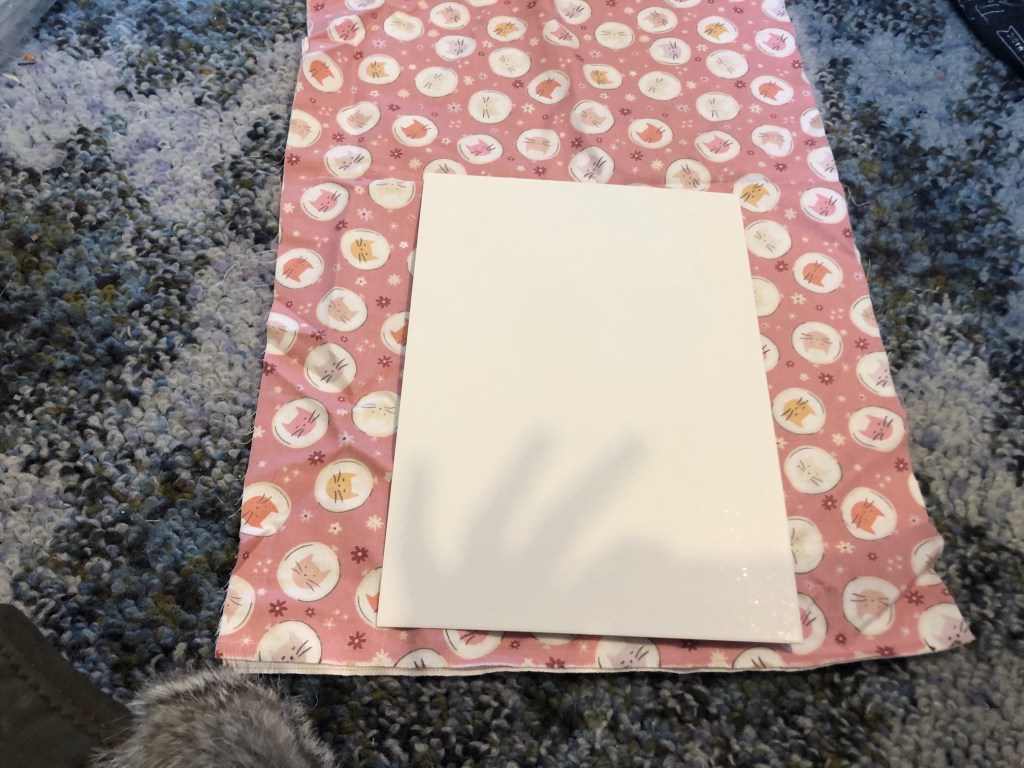
Lay your fabric out flat and place the board at the bottom:
fold in both sides
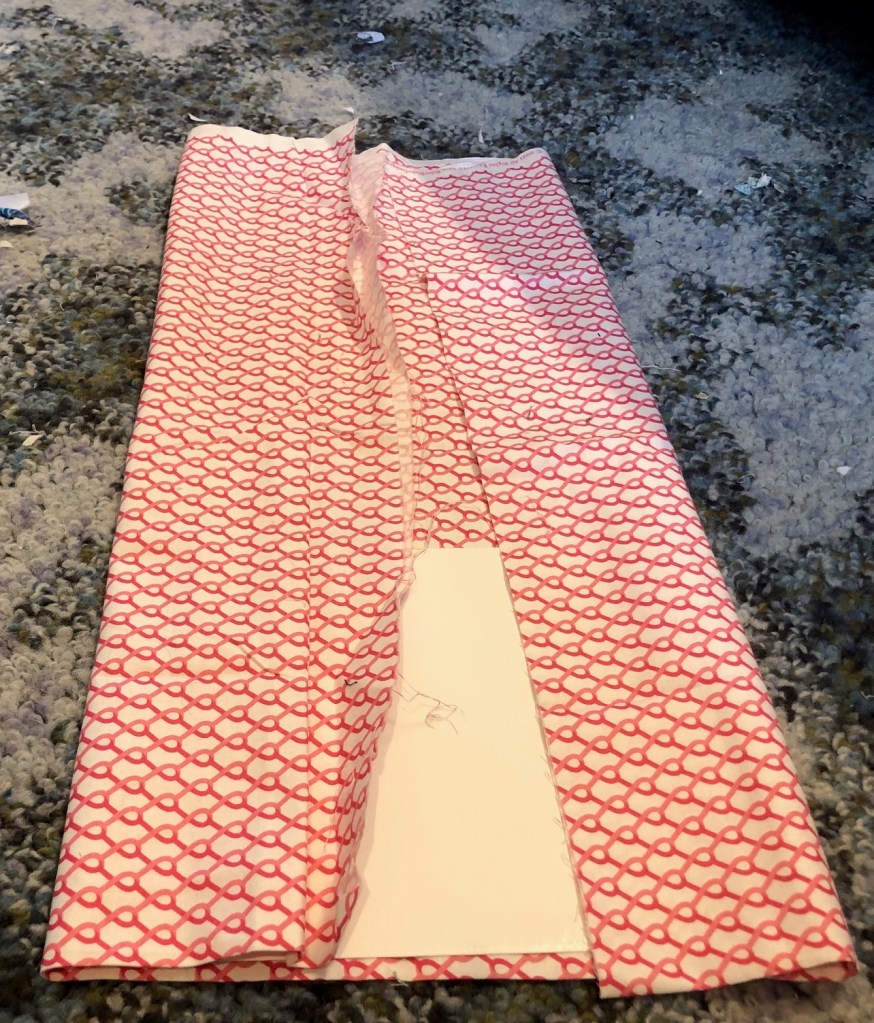
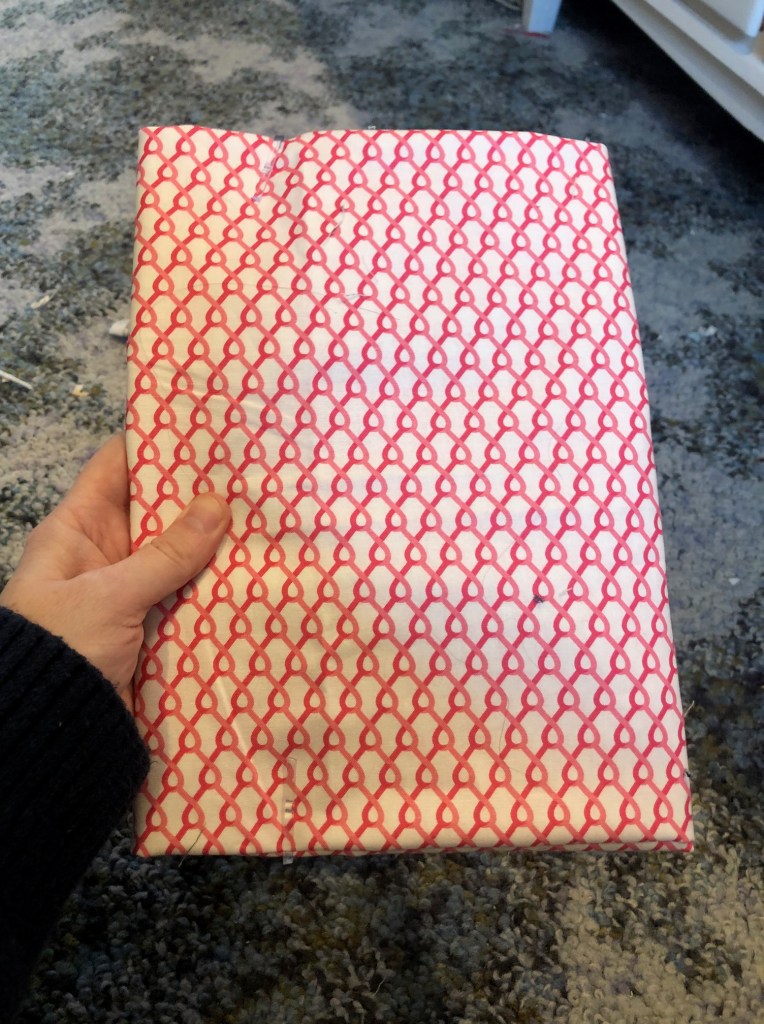
Then wrap the fabric until there’s no more to wrap and secure with the clip. (If you don’t have clips, bobby pins would work too)
The result is a nice, neat, stiff piece of fabric that’s perfect for organization and storage. What I like too is you can keep any scrap pieces wrapped up secure with them too, simply by tucking them in behind the cardboard before wrapping.
With the first one done, I set about doing the rest. It took much longer than I expected… alllllll afternoon AND most of the evening, with only a short break to grab a quick dinner.
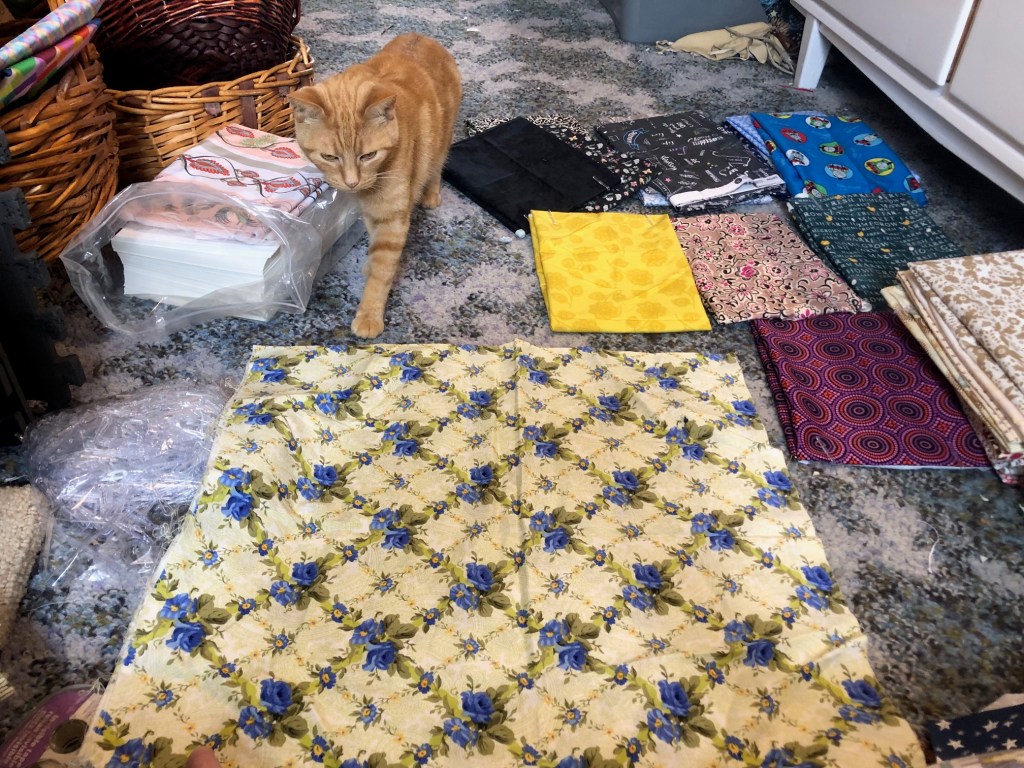
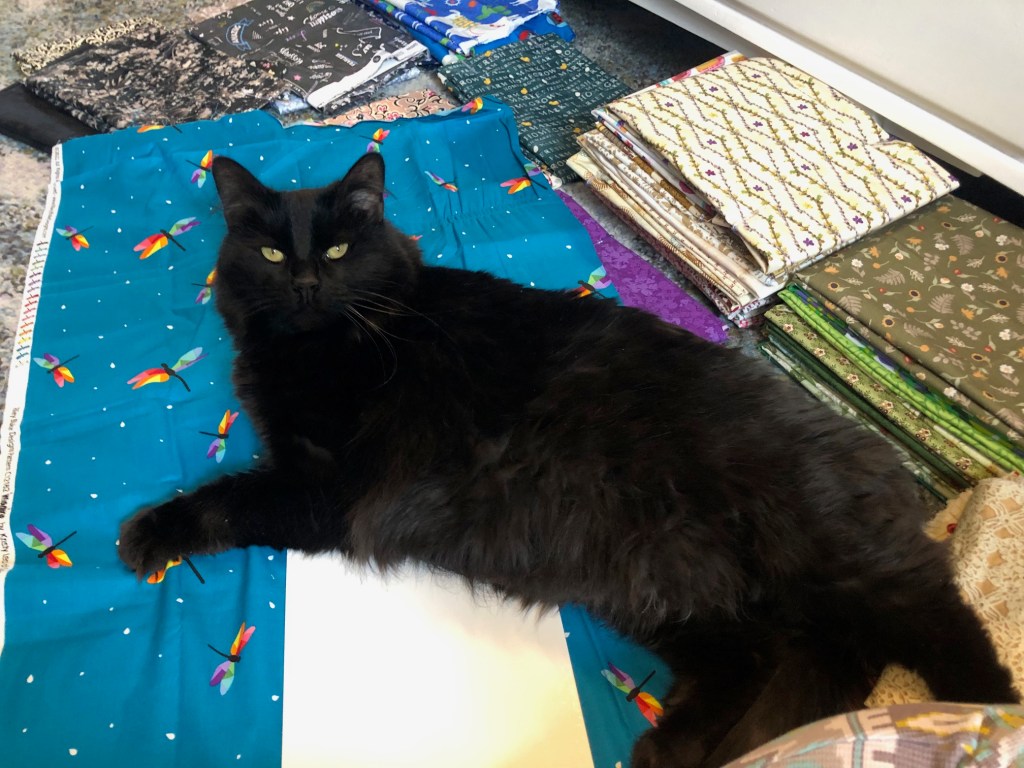
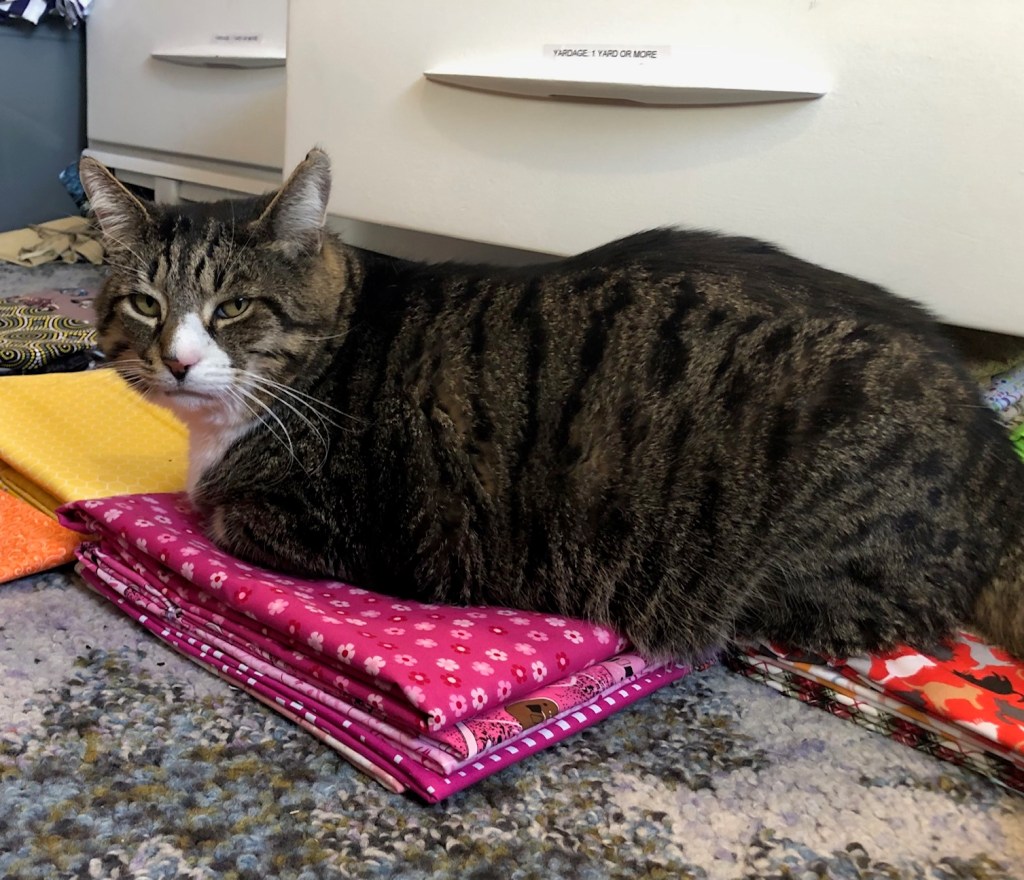
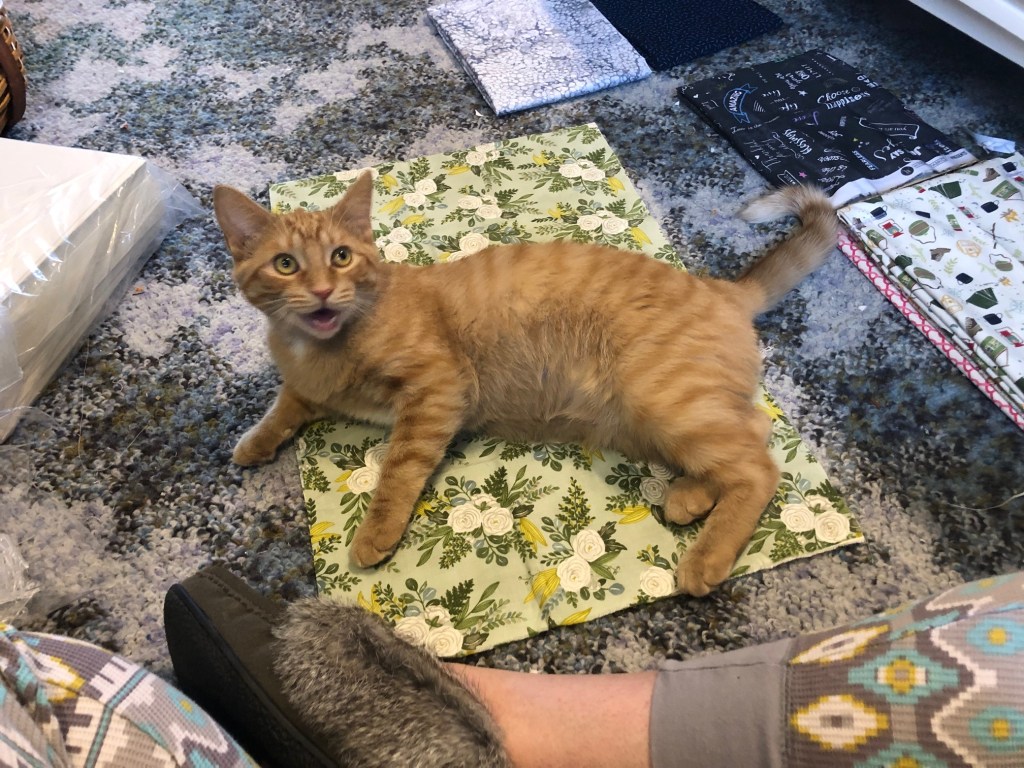
It was a such a long project that all four of the snoopervisors took it in shifts.
But eventually, it was all wrapped and the only thing left to do was get it all in the file cupboard.

I am absolutely THRILLED with how it turned out, with the exception of one thing…
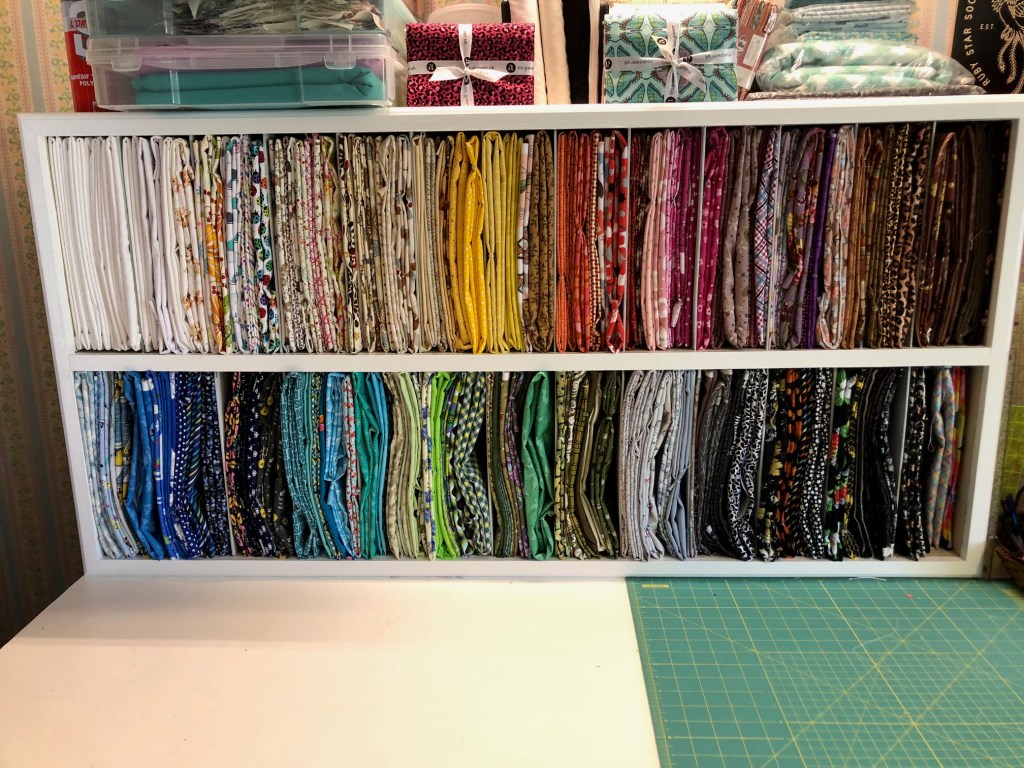
Notice how the bottom row looks a bit… squished??? Well it turns out that the bottom row is about 3/8″ shorter than the top row!!! Why??? I have no idea. So the cardboards are just a touch too tall. I got them all in… but…
Mom had a good idea… they boards can all be cut a little shorter… but that means unwrapping and re-wrapping all those bottom ones. So instead… I will trim the boards down as I use them.
And with all that fabric up here, I can not only see and use my yardage more easily, it freed up three of the drawers for other things. I ended up filling them full of backing yardage that was just piled up beside the dressers. It’s not all my backing yardage, as there’s still some in a bin, and a little on top of the bin. But I don’t have piles that fall over all over the place if you breath on them wrong!

Burton thinks it’s a job well done! And so do I!

Wow Valerie, your fabric looks fantastic! Such cute snoopervisors!
Have a great weekend.❤️
LikeLike
that is a really neat idea and looks pretty too!
LikeLike
It looks great! I did that with all my scraps a few years ago and it’s saved me so much time from digging through boxes to find stuff. I’ve got a bunch more that I need to wrap from all the projects I just finished. I just need to find the time to clean up those shelves. I tend to just plop scraps on top my boards when I’m in a rush. In never thought to make my boards the same size as my shelves so I could avoid that temptation.
LikeLike
I know just how long that took–it looks fantastic, indeed! I’d love to hire you! lol
LikeLike
Now you can go shopping in your own store Val! It looks aMaZiNg and I know how pleased you have to be with it all on display. I love how all four of your fur-babies were helping with the project.
Blessings and hugs,
Betsy
LikeLike
One must keep the tools at hand and in order, and fabric is a tool for you.
This is amazing, and I’m thinking it might be something that I could use for storing my scarves in a better way that hanging them all over the place.
Hmmm….
LikeLike
Fantastic is definitely a good way to describe your new fabric storage system. Not only does it look beautiful but everything is so easy to see and select. (Well, except for those stacks you mentioned.) I love how organized it is and how much you can put in that space now.
LikeLike
It IS a good job done well. I like that you can see all the pretty colors you have.
Relic’s face gave me a giggle. He reminds me of the older guy in the office having to supervise ………….the KIDS. LOL
LikeLike
What a great storage solution!
LikeLike
Nice job organizing! Looks like there will be lots of quilt making in your future! Love your kitty photos!
LikeLike