FO: Lace panel poncho

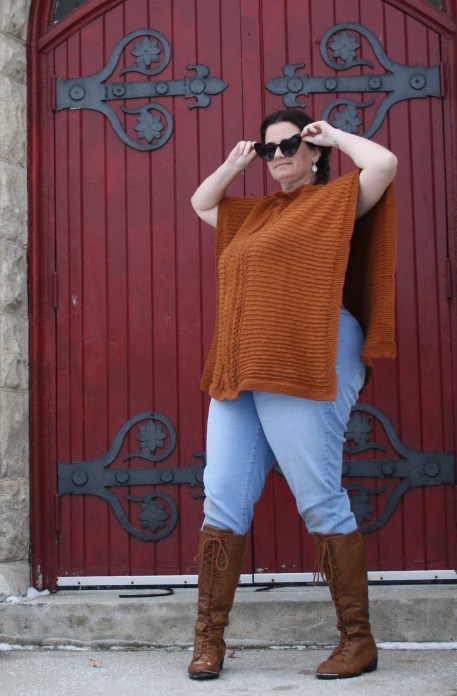
The never-ending poncho has FINALLY come to an end.
IMG_0585

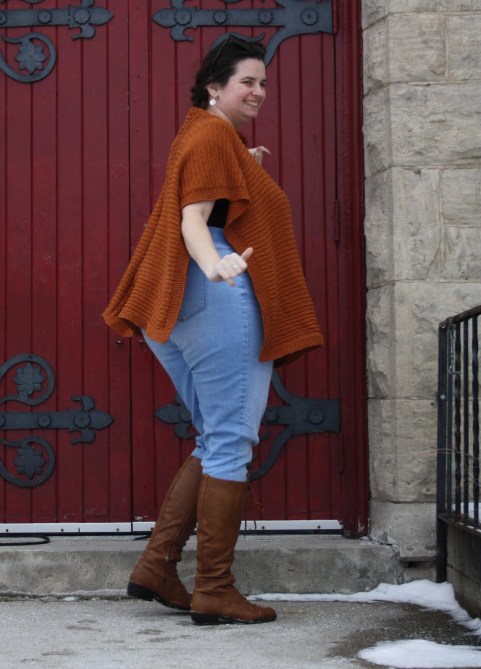
And I’m not 100% in love with it. I have a tendency to fall in love with styles that look really good on tall, willowy women.
IMG_0591

I’m not short by any means, but my curves are more than ample… I’m more gnarly stump and lithe willow. My Mom said it looks great… but Mom’s are like that.

It’s 100% cotton, so it is quite nice to wear, and has a decent drape. I’m going to wear it a few times and see if I fall more in love with it. I put a lot of time into it, so I’ve got to give it a bit of a chance.  If my feelings don’t change, I think Samantha may be getting a new poncho for trailer nights around the camp fire.

Still.. even if I don’t keep it, two good things came out of it:

1) I used up almost all of that yarn and got it out of the stash, which feels good, and

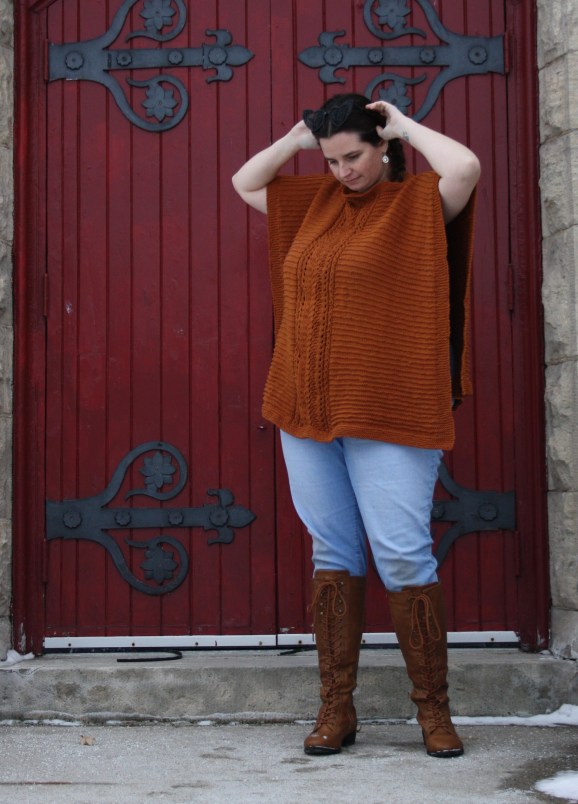
2) I bought those boots this fall specifically to wear with the poncho….
IMG_0595

And boy do I love those boots! I’ve worn them almost every day since I bought them. I’m trying to stop myself from buy a second pair in black

There’s always a silver lining! Plus… I never have to work on that darn poncho ever again! On to better things….
Blocks of a feather

Fun with the Moda blockheads continues. Week 4 was an applique block… a cute little bird house with bird.

I don’t mind doing applique, but since my vintage machine only does straight stitch, it  means I have to haul out my other machine (not terrible, but I’m lazy), or I have to do it at Mom’s.

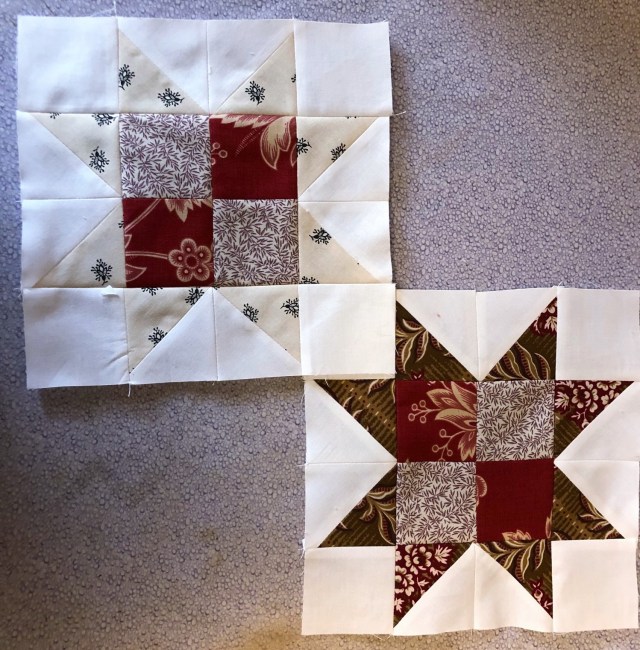
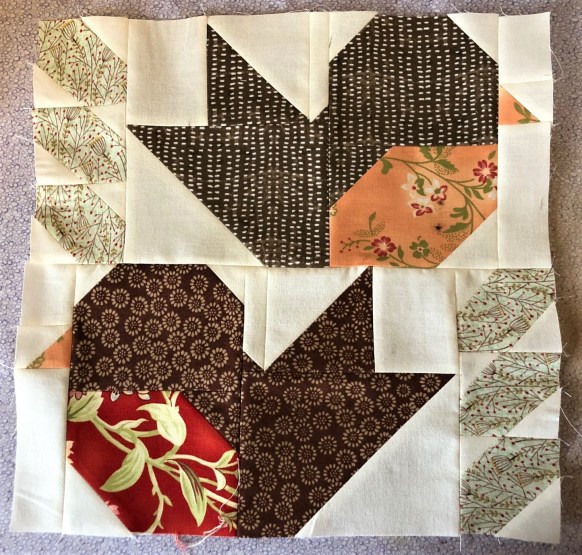
But since not everyone enjoys applique, the designers also offered up three alternate blocks. I chose this cute little pair of tweeters:

IMG_1239

Since my colour scheme was perfect for it, I turned mine into a mated pair of robins. Maybe it might even conjure up a little spring for us…

IMG_1278

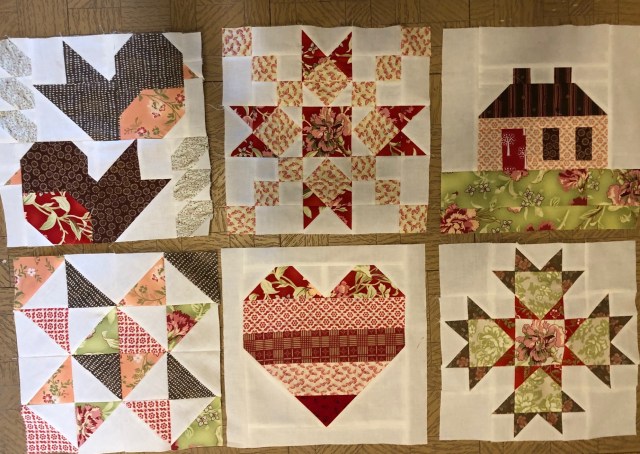
Here’s all six blocks I have done so far. The little house was another alternate to the applique block. And the heart was one I substituted for Week 5’s block, which was the word “Love” paper-pieced. I’m not in the mood for learning paper piecing at the moment, and I think the heart is a nice stand in.

This  is shaping up to be quite the interesting project.

The Nipper has landed

When I showed you the pretty vintage radio Dave refurbished for me, I mentioned that I had purchased a little vintage RCA Nipper dog to sit atop it.

And then I waited…. and waited…. and waited….

He started his journey in Florida, and in a logical world, he would have come up the East Coast and been home in a week or so. Instead….

map

… he took a detour to Houston.  And instead of turning back east…. he decided to make his way to Denver. You’d think by then that he’d turn toward the rising sun, and make his way home, but nope… he kept heading west. He made it to Canada, but in Vancouver… the farthest you can be from my home and still be in the same country. Only then did he finally turn tail and head home.

This dog is already more of a world-traveler than I am! But here he is at last.

IMG_1200

He’s not very big – just a few inches. And to be honest, I paid a stupid amount of money, for such a tiny little dog, but…

IMG_1201

… the radio wasn’t really complete without him. Now I’m on the hunt for a tiny gramophone for him!

Flocked

As you know, as I work on all my other projects, I’m also building Whirly Geese blocks. Part of the fun of making a Leader and Ender quilt (at least the way I do it), is that it doesn’t involve a lot of planning (if any). It’s all done using scraps, completely random. I just make geese until I think I have enough (no counting), then I start pair them up. Then I pair the pairs, then pair the quads.

Since each block takes eight geese, though you think you’ve made tonnes of geese and couldn’t possibly need more, they get used up pretty quick.

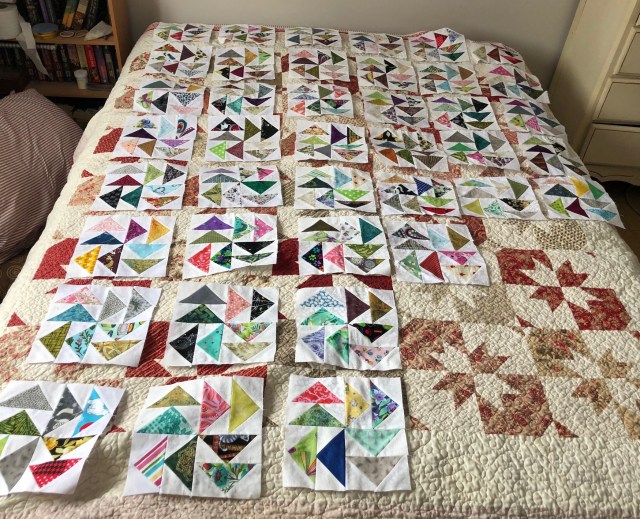
And that’s exactly what happened last weekend. I thought I’d made more than enough, and when the last were finally sewn into completed blocks, I laid them all out on the design bed to see where I was at…

IMG_1241

Sadly…. not nearly as close as I thought. I still need eight more blocks. That’s 64 more geese. But that’s okay… once all the geese are done it’s no longer my L&E project and it goes into regular rotation. And I need to clear out a box before that happens.

Here’s where everything else is at

  • Spring Blossom – Still making beautiful batik blossoms.
  • Royal Stars – Still buildings stars
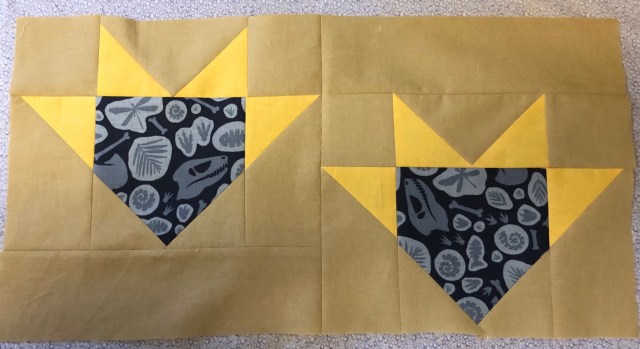
  • Walk Like a Dinosaur –Still building dino toes
  • Calico Garden –Still building giant stars
  • Blockhead: Patiently awaiting Wednesday
  • Leader and Ender quilt – Back to making geese

Friday felines

It’s Valentine’s day, and love is in the air at Chez Wandering Cat…

I blogged many times about Rupert and Relic’s complicated relationship.

It’s definitely better than when we first took Relic in. There’s very little snarking at each other, and Rupert has given up on his sneak attacks. But he’s still crazy jealous, and has to push his way in whenever you’re petting Relic. Which of course, Relic hates.

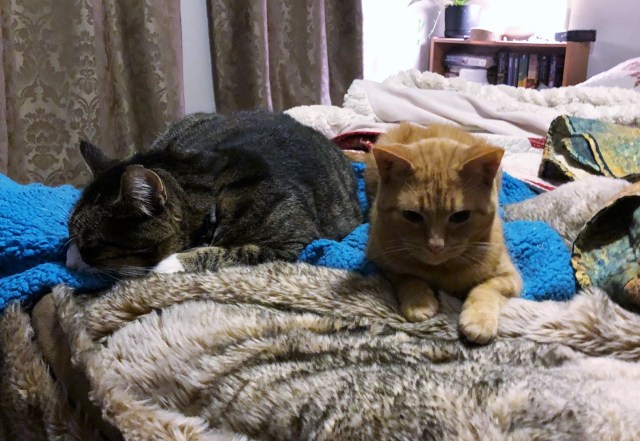
But then… there are moments like this…

IMG_1138

They actually sleep there together every night, but not until we’ve fallen asleep.

Bedtime starts with Relic crushing  laying on my chest, and Rupert curled up in a tiny ball on Dave’s hip.  Relic moves to the box at the bottom of the bed (which is covered in the above blankets), after I drift off and roll onto my side. I’m not sure when Rupert moves, but almost every morning when I wake up to use the washroom, they are curled up together. But it’s only ever been overnight, and as soon as Rupert realizes I’m looking, he moves, so I’ve never been able to get a picture.

I got lucky and came across the above situation the other afternoon. As you can probably tell from his posture, Rupert was already thinking about bolting. And he didn’t stick around long. He just can’t let me know that he really likes Relic.

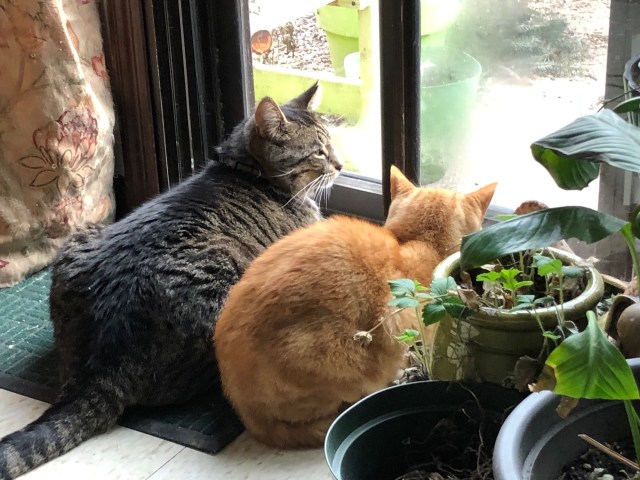
But then, a day or so later, I looked up from my work to see this…

IMG_1132

There’s hope for these two after all.


FO: Summer Love

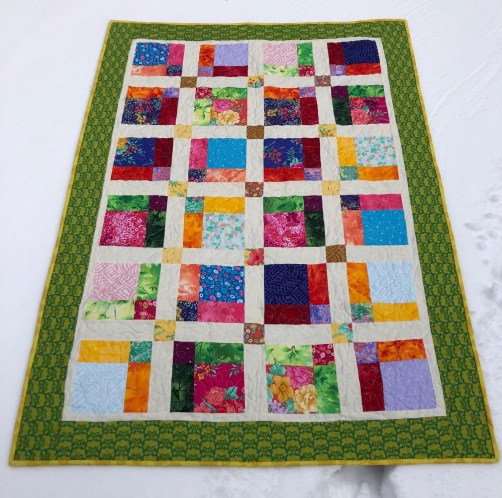
The day  I quilted this, we were in the middle of a small snow storm, and the colours made me dream of summer…. so despite the winter in this picture…

IMG_1213

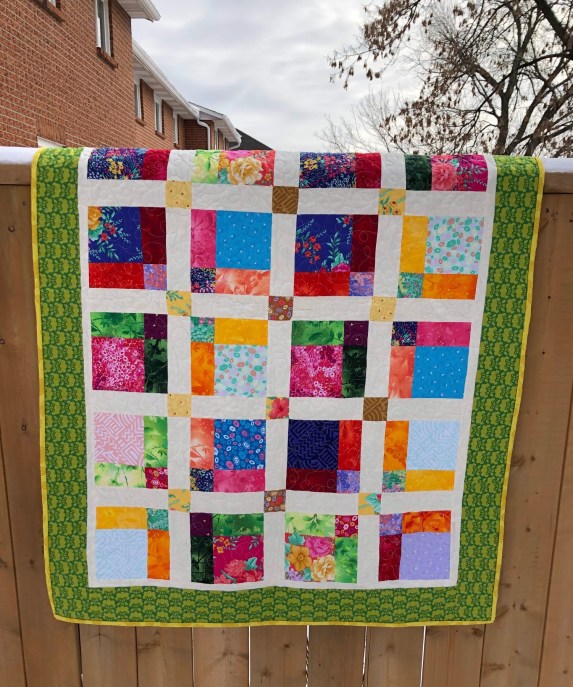
… I give you Summer Love! It’s not a big one – just 41″x 58″ … so a big baby blanket, or a small lap quilt.

IMG_1210

The design came about when I started making a Disappearing Nine Patch, but changed my mind after chopping all the block up. Instead, I mixed them all up randomly, and added some sashing and cornerstones. And I quite like the result – it’s such a cheery scrappy little quilt.

For the back, I had a really fun piece I found in the clearance bin (of course)

IMG_1211

If it looks familar, it’s the same as the fabric I used for the border on Moon Dance… just different colours. It worked so well with the colours of this one, it really was a no-brainer.

Poncho, purloined

Work continues pretty steady on the poncho…

IMG_1164

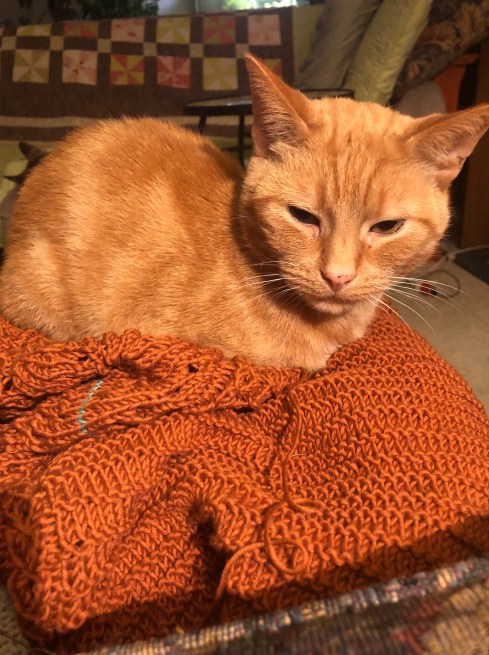
When I’m allowed to work on it, that is. Rupert’s taken quite a liking to it and it’s not unusual to find him curled up on it.

The end is in sight though… no point showing you another picture, because it’s just not that exciting… but hopefully the next post  about it will be an FO post!

Royally beautiful

IMG_1195

I finally got around to giving Royal stars some love, with two more blocks complete. For some reason, two blocks is usually all I can do in one sitting with this block. It’s not that it’s difficult, I just get a little bored.

But still, I only have 10 blocks left to complete, so even at two at a time, this one won’t take too much longer!

Fly away home

On Saturday, I was on a special mission. Samantha was returning home from a week in sunny Florida, and needed a lift home from the airport. Since I’m pretty savvy about the ins and outs of Pearson (from a work trip or two) and comfortable on all the big city highways (even if I don’t really enjoy them), it just made sense for me to help a sister out.

Since she was coming from a land of sun and warmth to this…

IMG_1208

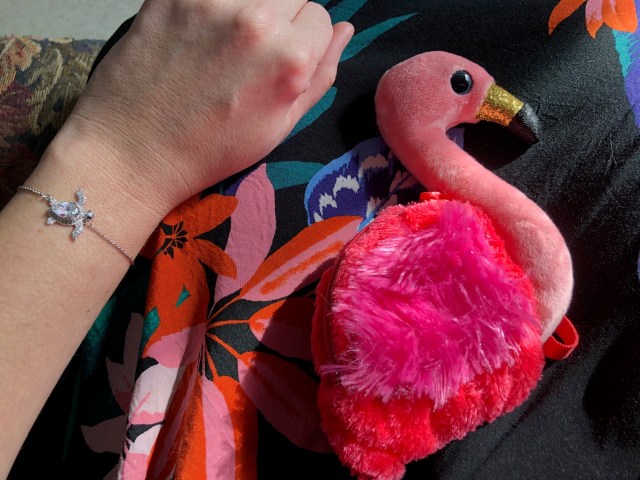
… I decided to ease her transition by dressing up in my most tropical dress, donning my favourite sea turtle bracelet, and picking up a little gift for her (Can you believe I got that cutie at the dollar store? It’s a coin purse)

IMG_1215

I had just gotten my car parked and walked into arrivals when she messaged – the plane had just landed. I could not have timed it more perfectly.

I found a comfy spot…

IMG_1216
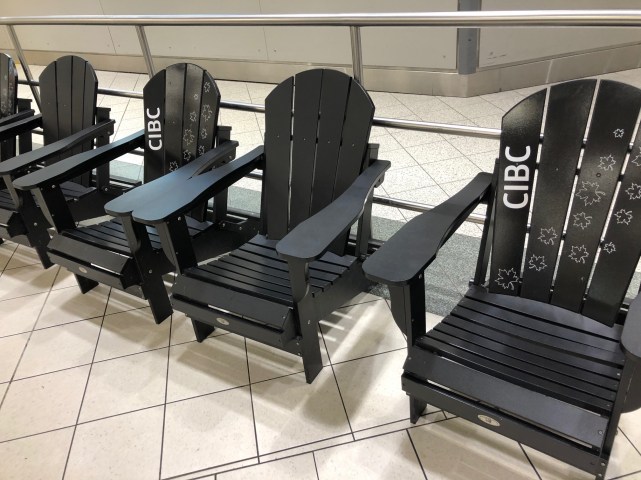
International Arrivals at Terminal 3 in Pearson is full of these chairs – a cute little welcome to Canada!

I was well prepared for a good wait… when Dave and I returned from Mexico a couple years ago, it took us over an hour to get through Customs and get our checked baggage

IMG_1217

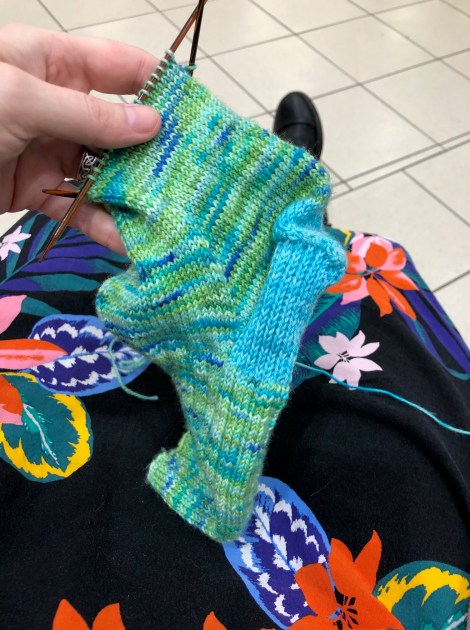
I was fully expecting to have a whole bunch of progess to show you on the Laguna sock (if not a completed sock!), but Samantha just breezed through Customs and getting her checked back was even quicker… she was through the whole thing in about half an hour!

So sadly, I only got a few rows done, and there was no point taking an up-to-date progress picture. And now its tucked away again, because I REALLY want to finish that darn poncho!

Dino stomp

Just as with knitting, when you’re quilting, working on one project quite often inspires another. A tweak to a pattern here and there creates something entirely new and exciting.

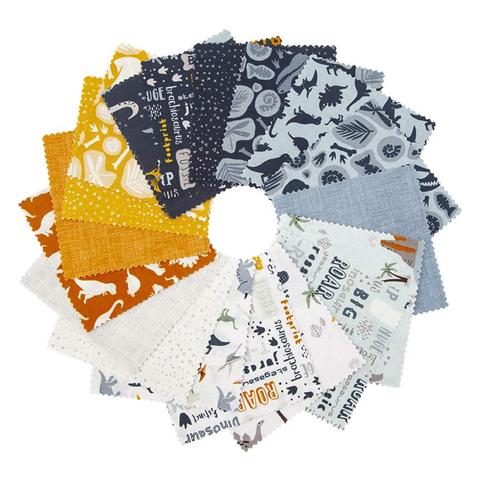
That’s what happened the other day when I was working on that week’s Blockhead block (which I’ll show in a few days). As I was putting it together, part of it jumped out at me, and I envisioned something entirely different… something just perfect for a charm pack I bought a few months ago….

5-8870-42_media-2_large

I’m going to walk you through making a pair of blocks. While you can make singles, these blocks work well in pairs.

For the pair you will need:

Background fabric:

  • Two: 2.75 x 9.5 inch
  • Six: 2.75 x 5 inch
  • Eight: 2.75 inch square

Contrast fabric

  • Eight: 2.75 inch square

Charm pack fabric

  • Two: 5inch square

When those are cut, you’re going to snowball the bottom corners of each of your charm squares with 2.75 inch background squares.

You will create two flying geese units with two 2.75 x 5″  background rectangles and 2.75 inch contrast squares

You will snowball  one end of the four remaining 2.75″ x 5″ background rectangles with 2.75 contrast squares. Watch your angle on these ones! You need two of each going in opposite directions (see below)

IMG_1153

Now you’re starting to see where this is going….

Along with the remaining 2.75 inch background squares, you’ll assemble these six pieces into the cutest little dinosaur footprint!

IMG_1154

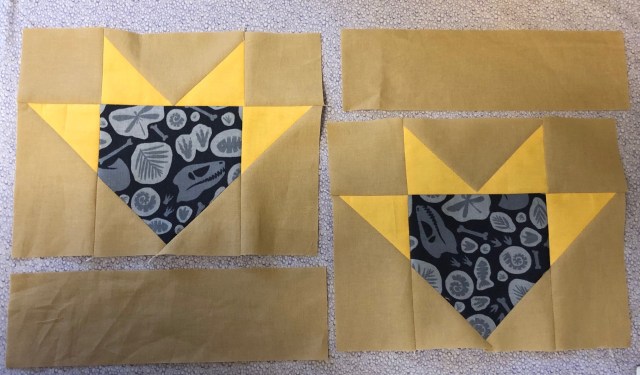
But we’re not done yet! Quilt blocks are easier to work with when they are square, so you’re going sew on those last 2.75 x 9.5 pieces to do just that. But there’s a twist!

On one foot, you’re going to put it on the top. On the other, you’re going to put it on that bottom.IMG_1155

That way, when you sew them together, you get a staggered, walking effect…

IMG_1156

…perfect for stacking on top of other prints to make a dino trail… there’s definitely more to come with these blocks!