Hallowe’en is here!

I’ve got some tricks to share, but first, a little treat!

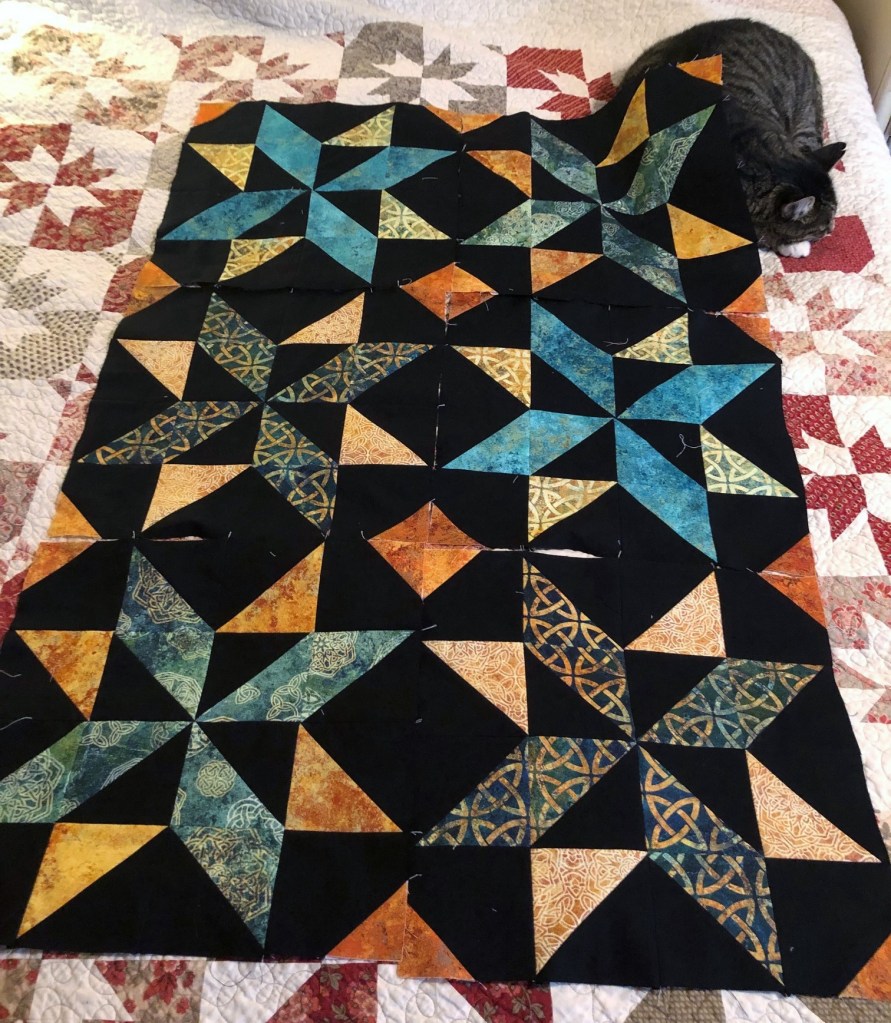
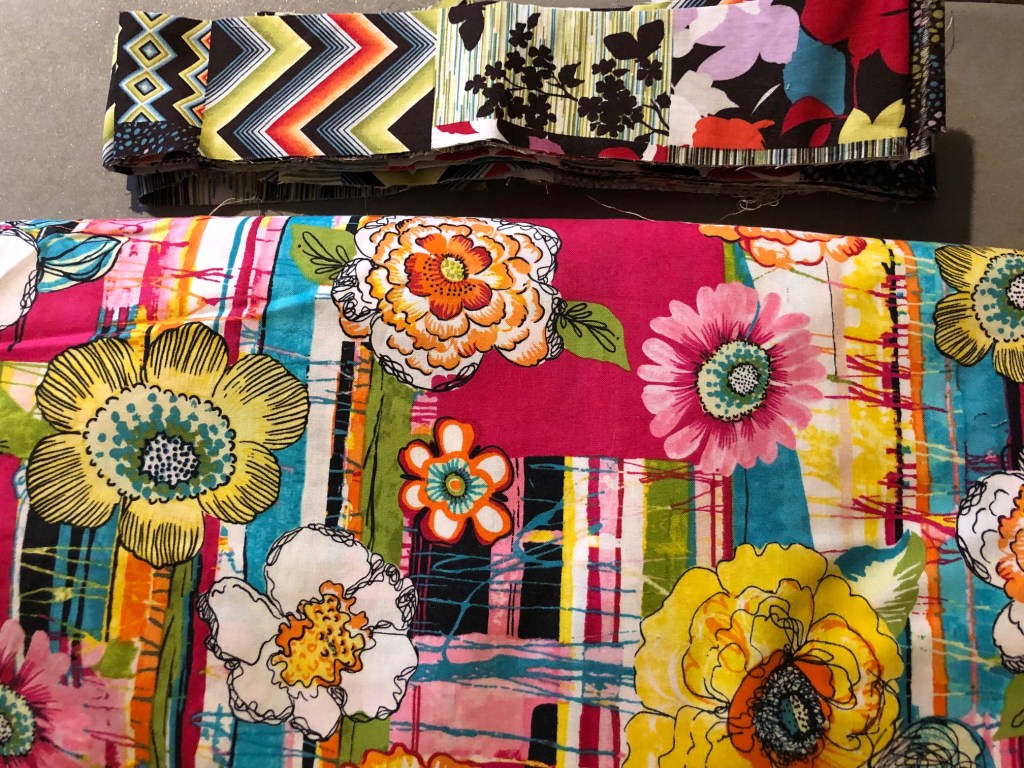
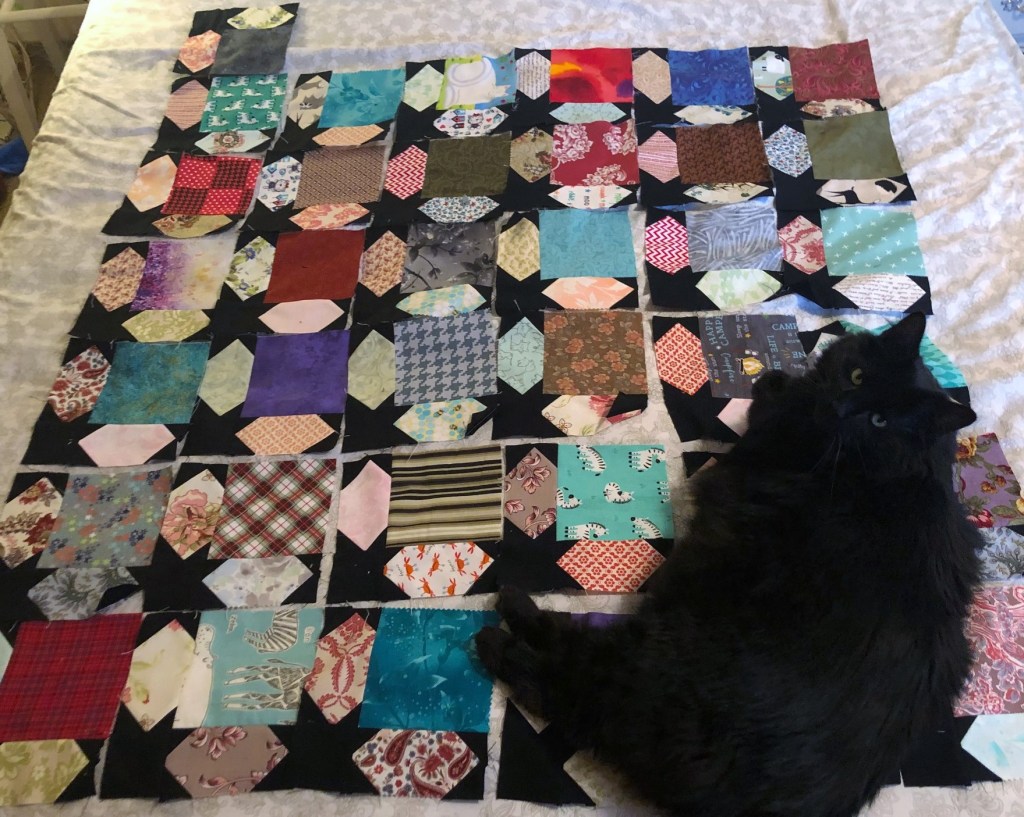
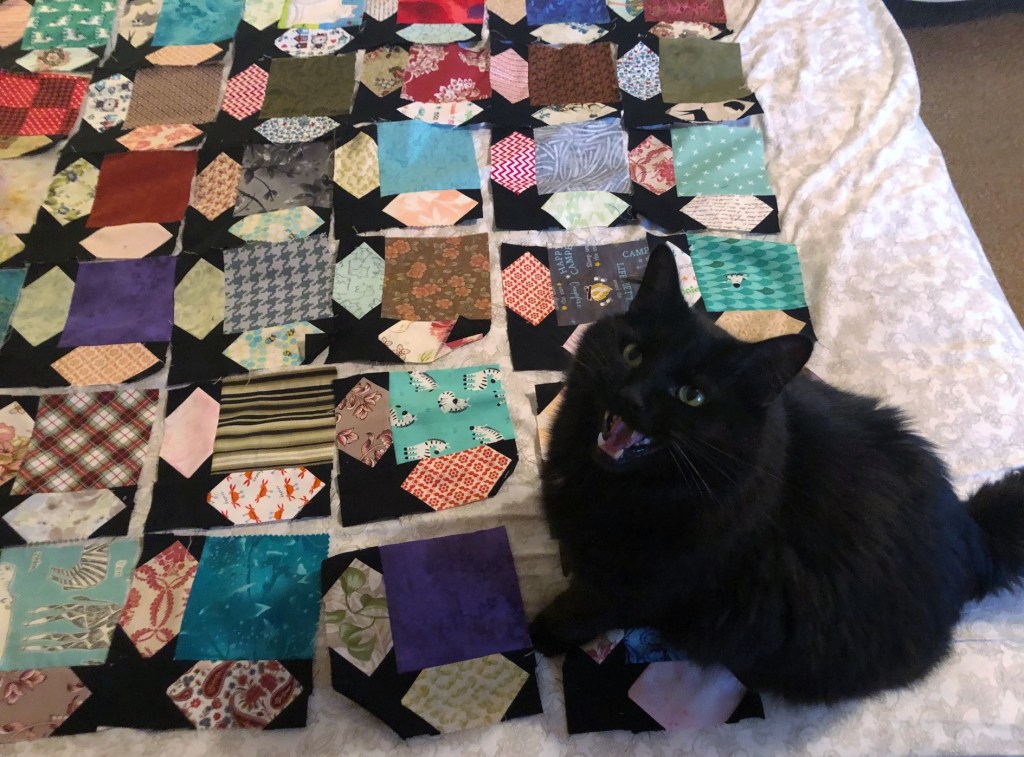
A few months back, Mom bought me a little present. A collection of fat quarters that I’d been lusting after since it came out in late summer

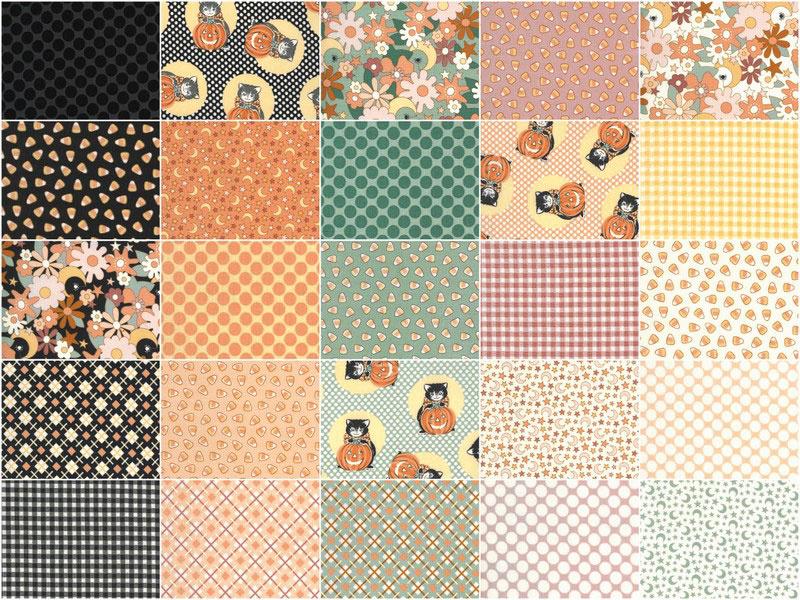
The collection is called “Kitty Corn” and I just fell in love with the colours, and those little retro kittens. It wasn’t your usual collection of Hallowe’en fabrics, and I was just smitten!

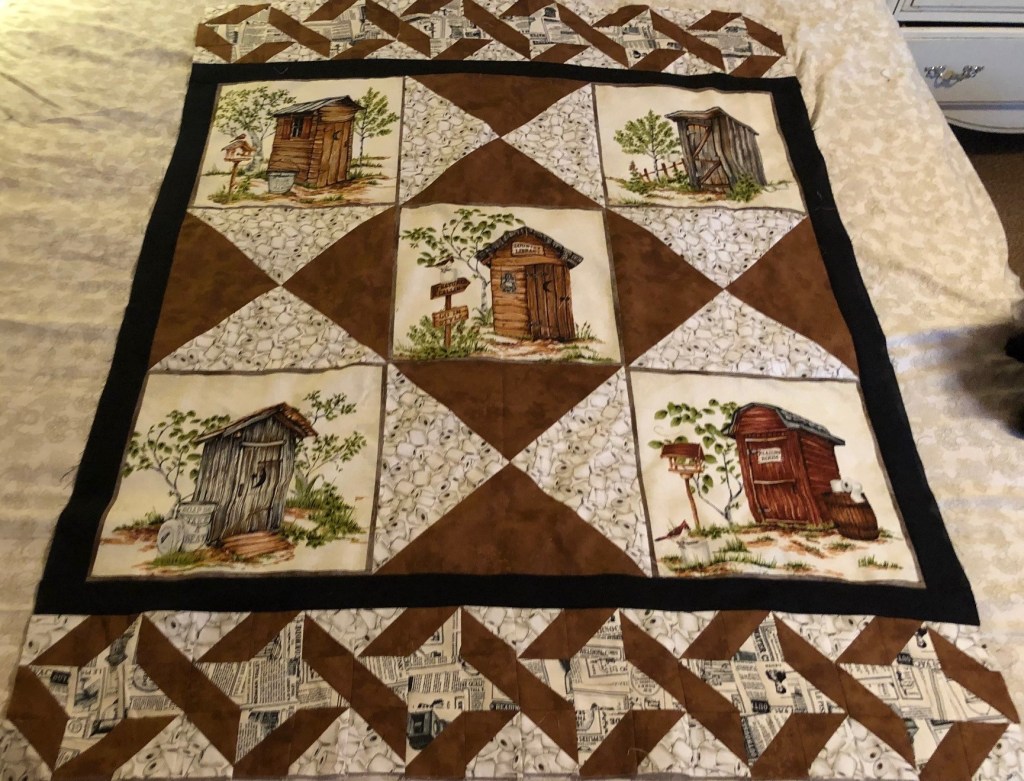
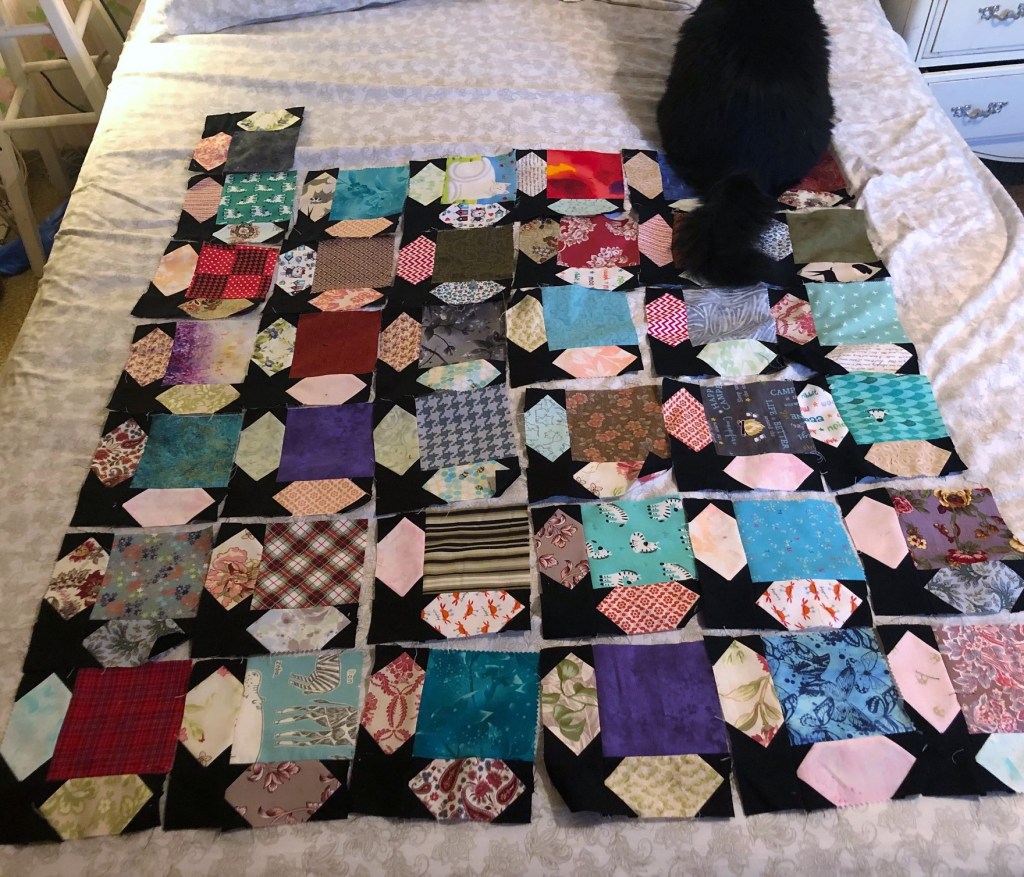
Well, when I ordered the extra fabric for the outhouse quilt, I needed to make that flat rate shipping fee worthwhile. While browsing the site, I came across a backing fabric that looked like it was a purrfect match, despite being made by a completely different company.

That’s always a gamble when buying online, because colours can look different. But then it arrived!

It was like they were made for each other! Obviously, I wasn’t able to get a quilt made in time for this Hallowe’en, but next year… come harvest season I’m going to have one purrfect little seasonal quilt!

Now onto the tricks. When we moved here, Dave decided we would have to go all out for Hallowe’en. Of course, with the ongoing renovations, I don’t really have “all-out” money, but I managed to scrape together a few things from a few discount places.

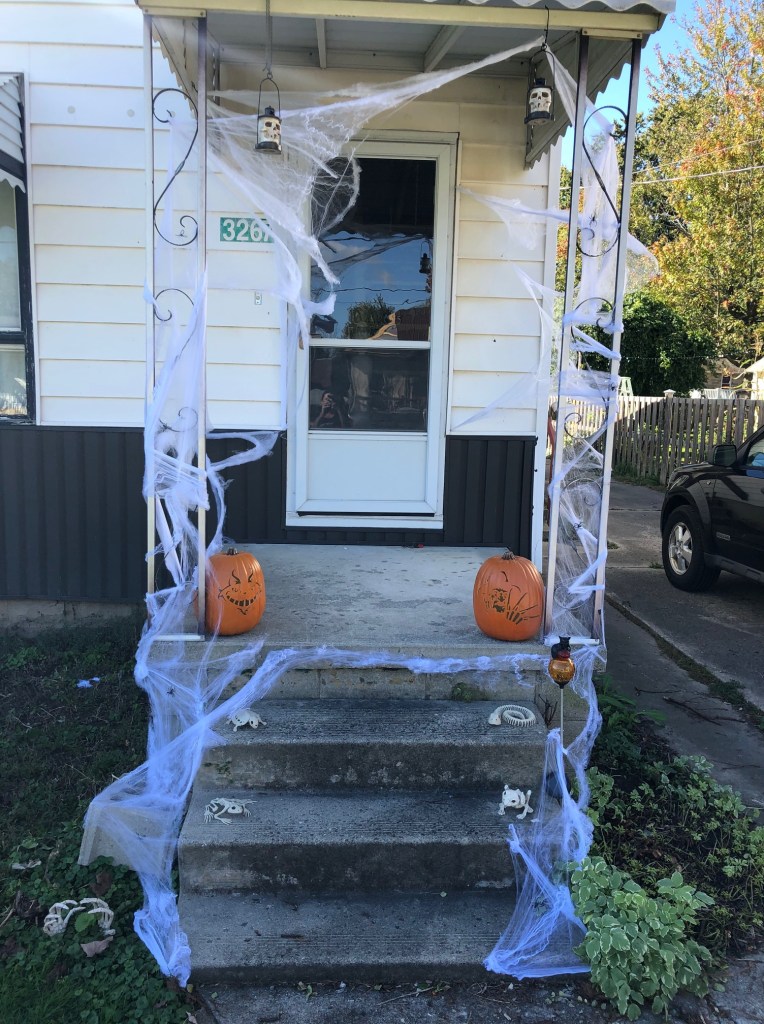
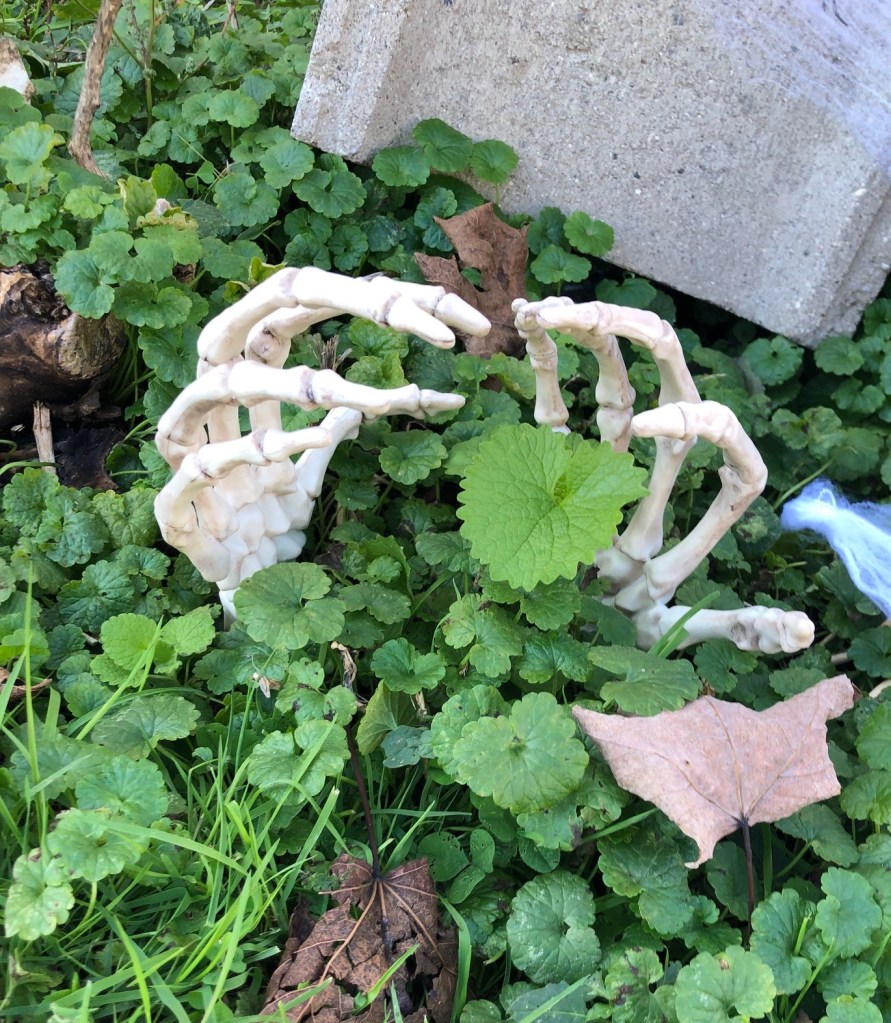
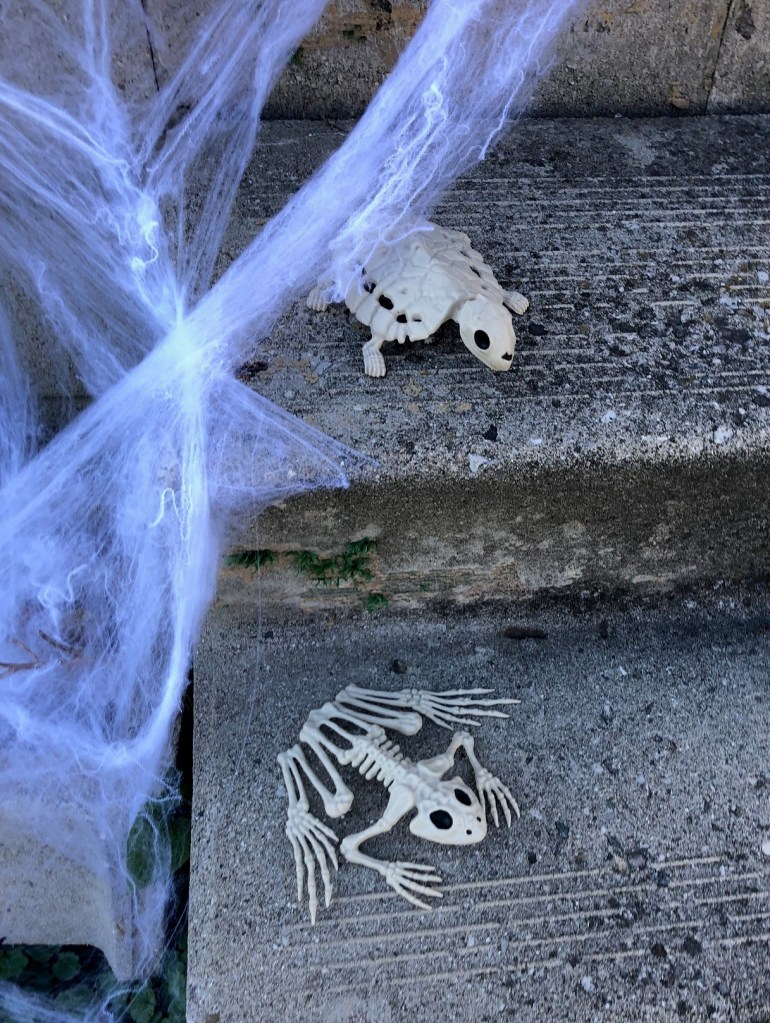
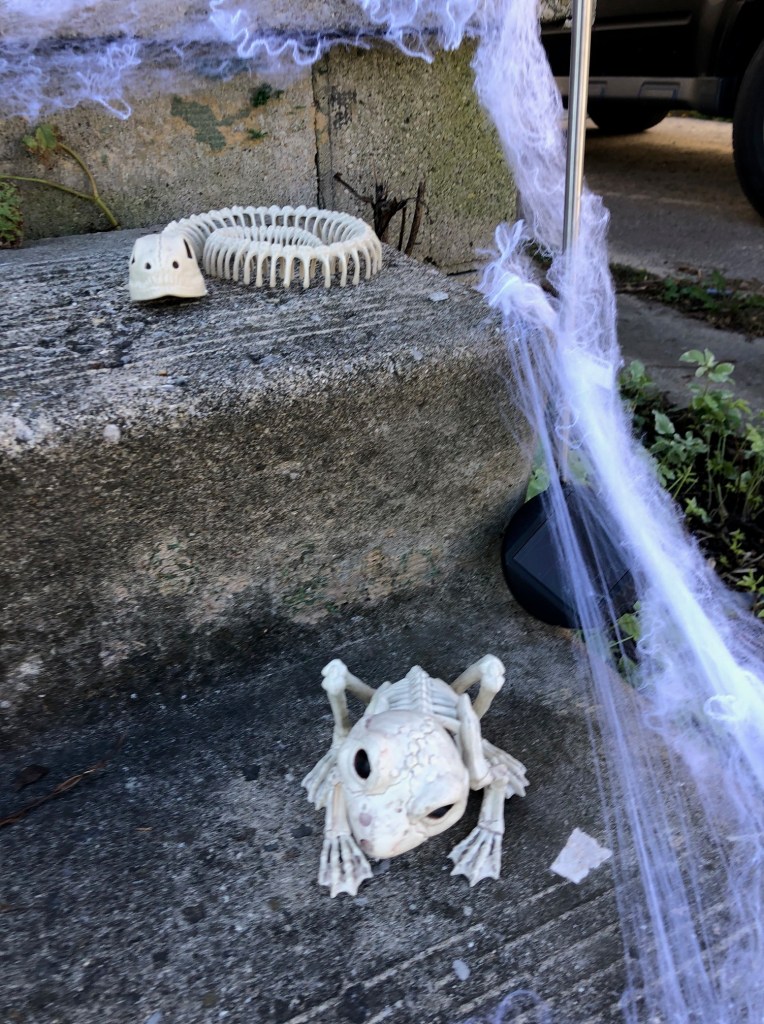
Enough to creep out the front steps, at least. Some cobwebs, a couple skull lanterns, a few skeleton specimens

We still had the styrofoam jack-o-lanterns neighbour Krista skillfully carved for us a few years ago.

I got Dave a big black cloak and some white make up – he’s going to be a vampire. I got myself the cutest pointed hat and a cauldron, and of course, we have oodles of candy!

We never got a lot of kids at the townhouse, but Dave thinks this is going to be a very pro-Hallowe’en town. I guess we’ll find out tonight!

Celestial stitches

While I wait for the brown fabric needed to finish the outhouse quilt to arrive, I have the star quilt to work on for new-brother Shaun.

Sewing stars is always a pleasure, and these fabric just increase the fun. I’m already half done, the blocked needed and I barely feel like I’ve worked on it.

Here’s a closer look at those beautiful prints (there are three different combos, with two blocks of each)

Bringing the garden together

Dave continues to head off to his Grandma’s to help out every other weekend. Although I do miss him (he’s usually gone before I get up Friday morning, and returns mid Sunday), part of me really looks forward to some quiet time.

When the lockdowns began, Dave started teaching from home, through Zoom. And though things do seem to be improving, as he’s helping his grandma so much, he doesn’t feel comfortable going back to in-person yet. And that means we are both home ALL the time.

He is generally very good about leaving me to do my own thing, especially when I’m sewing, but there are always inevitable interruptions if he’s in the house.

So as soon as he left last weekend, I took the opportunity to really be able to focus and finally get the top of the Spring Brook Blossom top together.

I got it all laid out on the bed, and made sure there was a good balance in colour placement. I was a little disappointed to realize I was going to have to assemble this top in rows. I dislike trying to match up long seams, so I try to assemble tops in quadrants. That way, there’s only one really long seam when I bring two halves together.

If I hadn’t sewn the blooms to their leaves and stems, I would have been able to do quadrants, but I wasn’t thinking about final assembly when I was making the flowers… I just wanted to see those blocks come together!

Still – I powered through it. And it actually went together pretty well. It didn’t take terribly long for it all to come together.

My layout is just a little different than the suggestion by the designer. Mine is not quite as balance (I have more white space on top than bottom) but of course I also added that cute little butterfly too.

I’ve been hanging onto a very special chunk of fabric for the backing.

That wonderfully wild floral was a clearance bin find, and as soon as I joined the sew-a-long, I knew it would be the back for my version. My scrap binding bin yielded up a faux scrappy-looking binding which I think will be just perfect to wrap it all up.

I’m hoping to sneak off to Mom’s this weekend and get it quilted! But I have to make sure I’m home in time for Hallowe’en!

Back to Dad’s sock

With all the fingerless mitts off the needles, it was time to turn my attention back to Dad’s birthday socks. So turn my attention, I did.

Now I know what you’re thinking…

a) YOU HAVE ONE SOCK DONE ALREADY???

b) Wait a minute… weren’t you using different yarn??? And a different pattern?

To address the first, I started these the minute the Cameron Mitts were off the needles, which was the morning of Oct 21. Still – that’s pretty good speed for giant man feet, I must admit. (Work has been relatively slow, leaving more time for stitching)

As for the second, I just wasn’t loving the combo of the Sock Ease with the cables. It was just too busy.

So I went stash diving and came up with this lovely, squishable skein of Bugga. It’s from the batch I dyed up before we moved. I don’t usually use fancy yarns for gifts, but Mom does Dad’s laundry so she knows how to wash/dry them properly.

I also decided to switch up the pattern. I love the look of cables, but I’m not so much a fan of actually executing them.

I found this pattern on Ravelry. It’s called Studmaster. It is mostly ribbing, but has some fun little mock cables (increases and decreases) down either side of the front.

I’ve already got a decent start on the second. I’m just hoping I have enough yarn. The skeins of Bugga were “seconds” some short on yardage, some with small flubs, some with both. Fingers crossed I can win this game of yarn chicken!

An afternoon down the toilet

My goal is to get both my real brother, and my new brother’s quilt tops done by the end of November. Then I can zip to Mom’s for a weekend, and get them both quilted in time for Christmas.

With that in mind, I’ve kept my attention on my brother’s outhouse quilt. It’s the smaller of the two, and I’d already made good progress on the friendship stars.

I just needed to add a plain solid border around the centre, then a border of all those stars. The plain solid border went on easy peasy… and why wouldn’t it?

But then I got to that star border…

And once again, I’ve learned that apparently I suck at math…

Oh, my stars were the right size… but I just didn’t calculate properly and make enough of them. There should be a row of stars up either side of the centre too! But to do that, I need 28 stars, not the 20 I made! Gah!

I have enough of the toilet paper, and newsprint fabrics (which is good, because both are out of stock almost everywhere), but I don’t have enough of the brown.

Burton wants to tell you that there’s no need to worry though. We did an emergency order from Missouri Star Quilts and there’s more on the way. Happily, they have very quick shipping to Canada, so I should have it in a week or so. And in the mean time, I can focus on new brother’s quilt.

FO & Pattern release: Cameron

The last of the Christmas mitts is done!

I know, it’s not very exciting compared to the other ones. But this pair is for Paisley’s boyfriend, Cameron.

He’s been around for a couple of years now. I’ve only met him once, but by all accounts, he’s a very nice young man. But I don’t know him very well so I decided to play it safe, and simple.

The yarn is some leftover brown Barn Cat I had kicking around (colour is Milk Chocolate). Last year I made him a brown, ribbed hat, so this pair will go nicely with that.

And, as the title suggests… it’s my pattern. I couldn’t find anything that was tickling my fancy, so I decided to just write my own.

It’s a VERY simple mitt pattern with a major plus – these mitts will fit pretty much any size hand. That’s my tiny little hand in the picture, but Dave has giant man hands and they fit him just as well. It’s all in the magic of ribbing.

So the pattern is available now (it’s free!).

Enjoy and have a wonderful Monday!

Leading the way

I’m sewing every spare minute I can. It’s not enough in my opinion, but I hope to get more time once winter really sets in and there’s not as much to do around the house.

Still, with what little sewing I have been accomplishing, I’ve managed to sew up all the pieces I had for Leader/Ender blocks. It was time to lay them out and see how far they would get me.

I had a fair bit of help with that laying out.

He was so helpful, I wasn’t able to get one picture of them without his noble fluff-butt.

Still, I have 39 blocks in total so far (a couple are missing from this photo. But since I’d like this to be a decent sized lap-quilt, I need quite a few more.. at least 60 or more added to this lot.

So I’m back to snowballing scraps. This one is going to take a while.

October in bloom

We’re closing in on the end of October, but there’s still lots of colour around here. And I’m not talking about fall colour….

The mums I brought from the townhouse hit their peak last week (when I took these pics). They are just starting to fade, so I expect that they will stay pretty colourful until the end of the month.

The neighbour’s Morning Glories are still peeking over the fence and still providing a few blooms here and there.

There are still a few strawberries, though they are small and probably won’t ripen before the frost. The Tickseed still throws up a bloom here and there.

Each of the new Butterfly Bushes has put up a small, but beautiful bloom stem. All three have really grown since I put them in so I expect good things next year.

And last… the lawn is just full of wild violets.. they don’t really get a chance to bloom because of the lawn mower….

But this little guy managed to stay low enough to evade the mower blades. It makes me wish I didn’t have to keep th grass short.. I’d love to see more of these little guys! (even though if left unchecked, they totally take over!)

Anything still blooming in your yard?